Deploy Dataedo Portal in Azure
This guide walks you through installing and configuring the Dataedo Portal on Azure. For an overview of the Dataedo Portal, refer to this link.
To upgrade an existing Dataedo Portal instance, see this article.
Launching a virtual machine
Step 1: Access Dataedo portal on Azure Marketplace
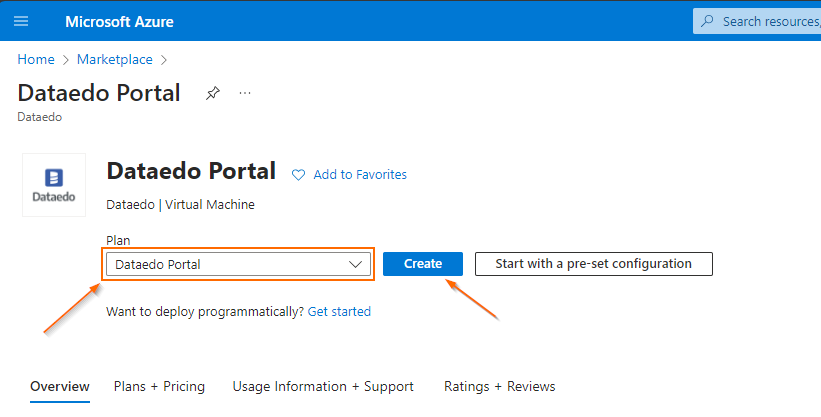
Start by visiting the Dataedo Portal application on Azure Marketplace. Log in with your Azure account, choose the Dataedo Portal plan, and click Create.
You'll only be charged for the virtual machine; Dataedo Portal uses a BYOL (Bring Your Own License) model.
Step 2: Configure the virtual machine
The wizard will take you to the Create a virtual machine page:
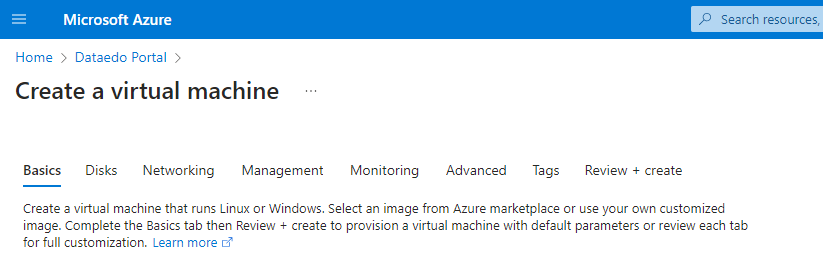
Now, configure the following:
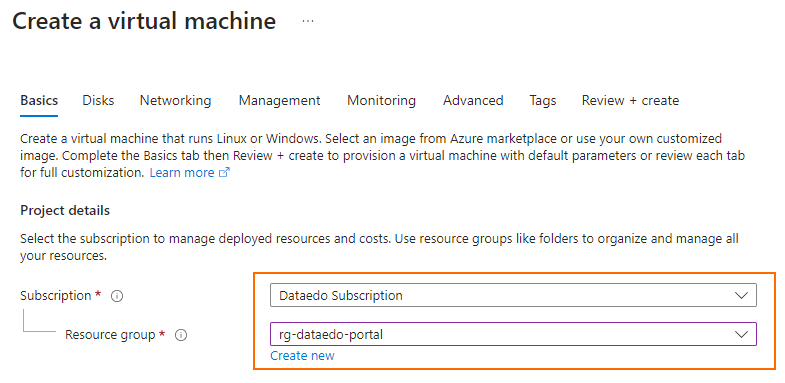
Basics tab
-
Project details
- Select your Subscription and Resource Group.
- To create a new resource group, click Create new.
-
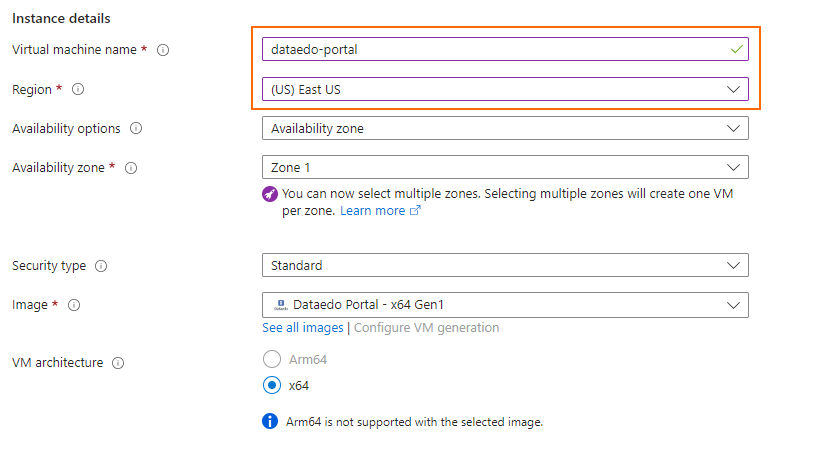
Instance details
- Set the Virtual Machine Name and Region.
- Choose Dataedo Portal as the image.
-
Size
- Recommended: 2 vCPUs and 4 GB RAM (minimum) or 4 vCPUs and 8 GB RAM (for higher performance).

-
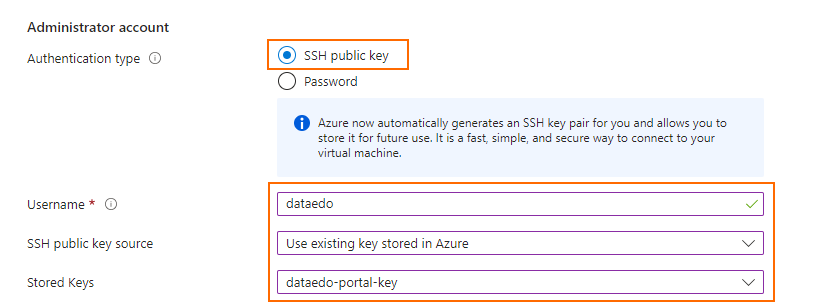
Administrator account
- Use SSH public key for authentication.
- Select an existing SSH key from Azure or generate a new key pair.
-
Now, click the Next: Disks button at the bottom:

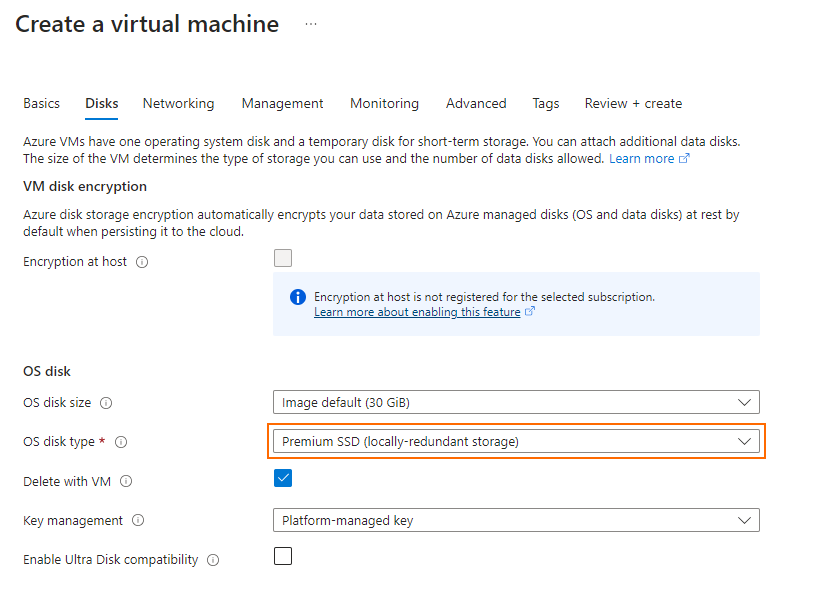
Step 3: Configure disks
-
On the Disks tab you can configure properties of the operating system and data disks.
useful tipUse SSD for os disks optimal performance.
-
Now, click the Next: Networking button at the bottom:

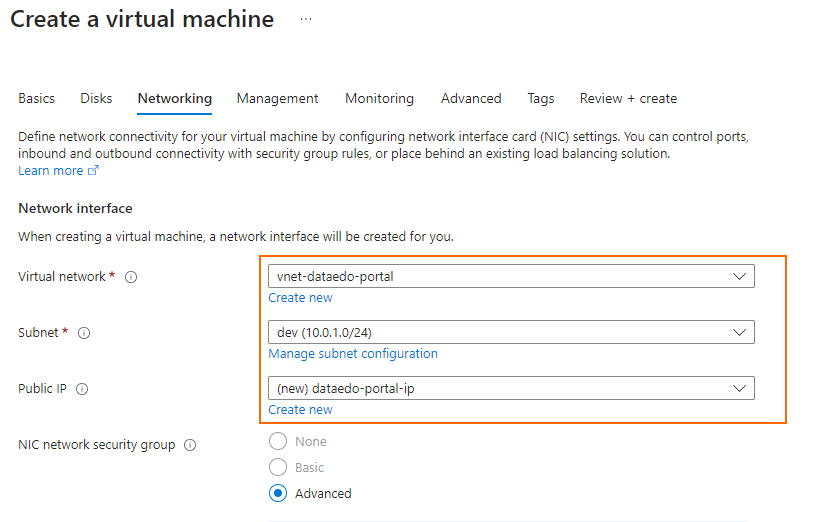
Step 4: Configure networking
-
Define the Virtual Network, Subnet, and Public IP.
- Create a new public IP or assign one later.
-
Configure the Network Security Group: Open these ports to allow essential traffic for the Dataedo Portal:
80: if you're using HTTP443: if you're using HTTPS22: if you're using SSH
For global access, set the source to Any. Otherwise, consult your network administrator.

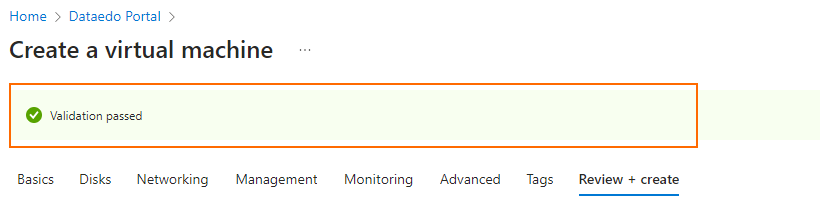
Step 5: Review and create
The configuration options on the other tabs of the Create a virtual machine page are optional. You can adjust them according to your needs or keep the default values.
-
Review the settings and click Review + Create button at the bottom:

-
Wait until the validation process is finished:
-
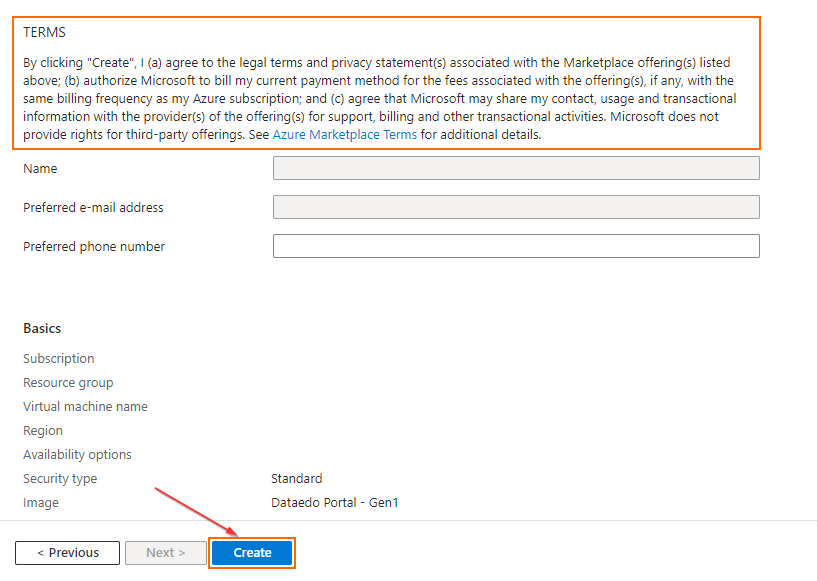
Review and read the Terms, then verify your settings and click Create.
-
If you're generating a new SSH key pair, download the private key file (
<key_pair_name>.pem) and save it securely.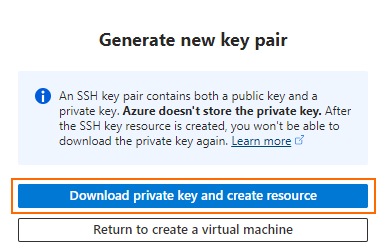
-
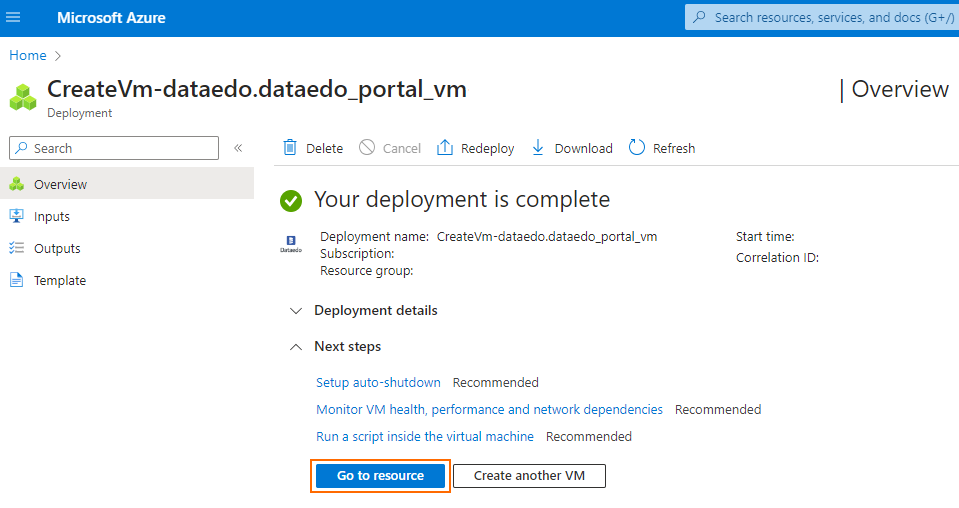
Wait for the deployment to complete, then click Go to resource to access the virtual machine page.
Connecting via SSH
To continue setup or change configuration later, you will need to connect to the virtual machine via SSH.
-
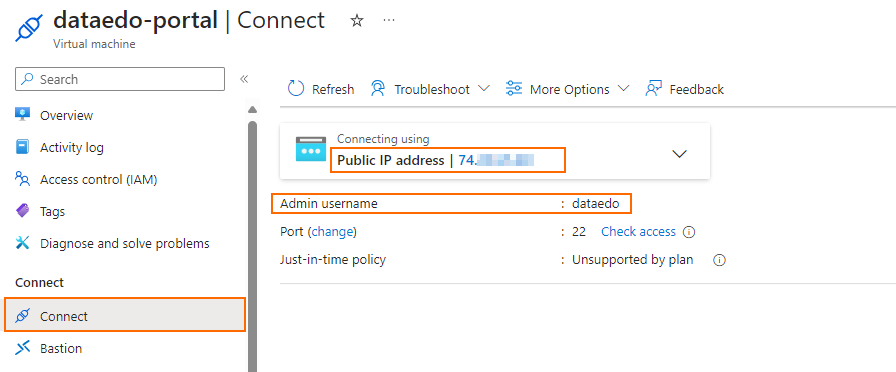
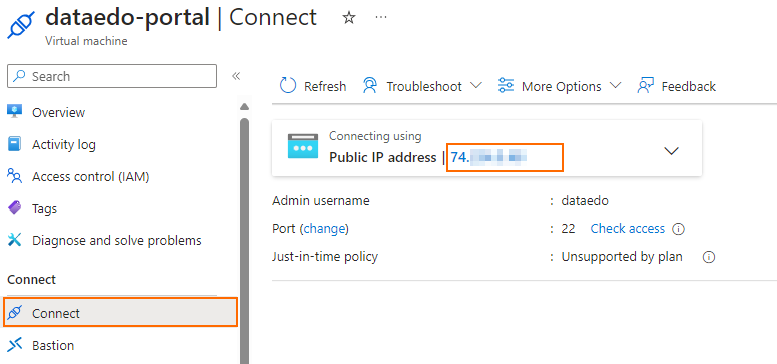
On the virtual machine's overview page, click Connect to view the public IP address and admin username.
-
Open a terminal and locate your private key file. For Mac/Linux, set read-only permissions:
chmod 400 <private_key_file>.pem
Connect using the SSH command:
ssh -i <private_key_file>.pem <admin_username>@<virtual_machine_ip_address>
Respond yes to the prompt when connecting for the first time.

Configuring environment variables
- Navigate to the Docker configuration files:
cd /opt/dataedo/
- Edit the
.envfile:
sudo nano /opt/dataedo/.env
- Restart containers for changes to take effect:
    sudo docker compose down
    sudo docker compose up -d
For detailed .env configuration, see this guide.
Accessing the application
You can now launch the Dataedo portal:
-
First, get the IP address of your virtual machine. To do this, please return to the Connect option page of your virtual machine in Azure and copy the public IP address.
-
Paste the IP address into your web browser using
http://(nothttps://).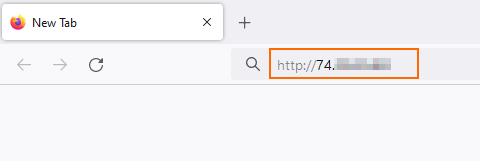 ssl certificate
The Dataedo Portal doesn't include a pre-installed SSL certificate during setup.
We strongly recommend installing an SSL certificate immediately after completing the initial configuration.
-
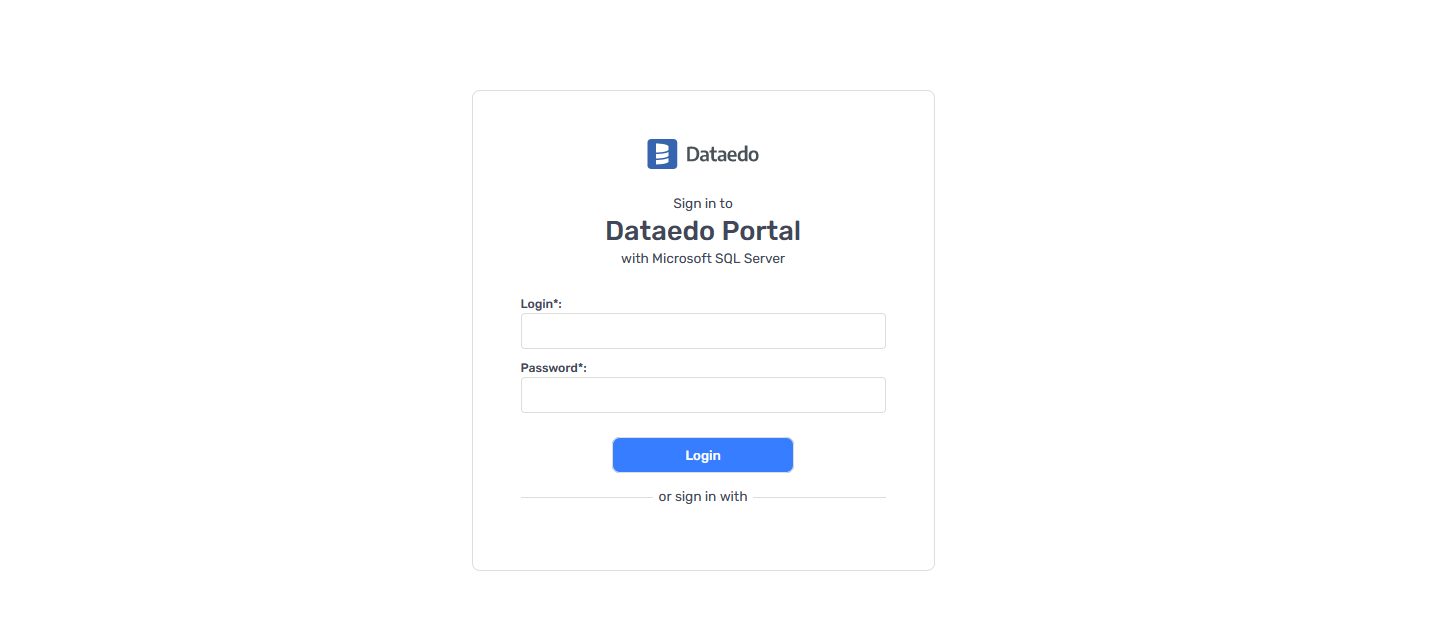
The browser will display the Dataedo portal page:
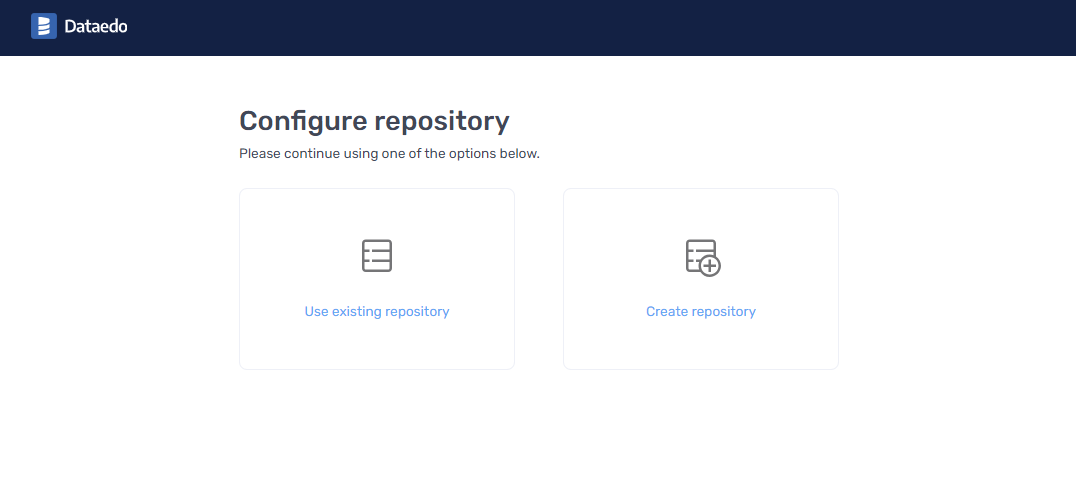
- If you see the Configure repository page instead, it means the connection to the repository failed using the settings from the env file. In this case, go back to the Configuring environment variables section above.
Need help?
If you run into any problems or have questions, reach out to Dataedo support.

