Managing Data Classification
To help you with fine-tuning Data Classification to match the latest changes in binding Information Protection Acts, or to satisfy your organization's needs, Dataedo offers a range of customization options.
Enabling configuration
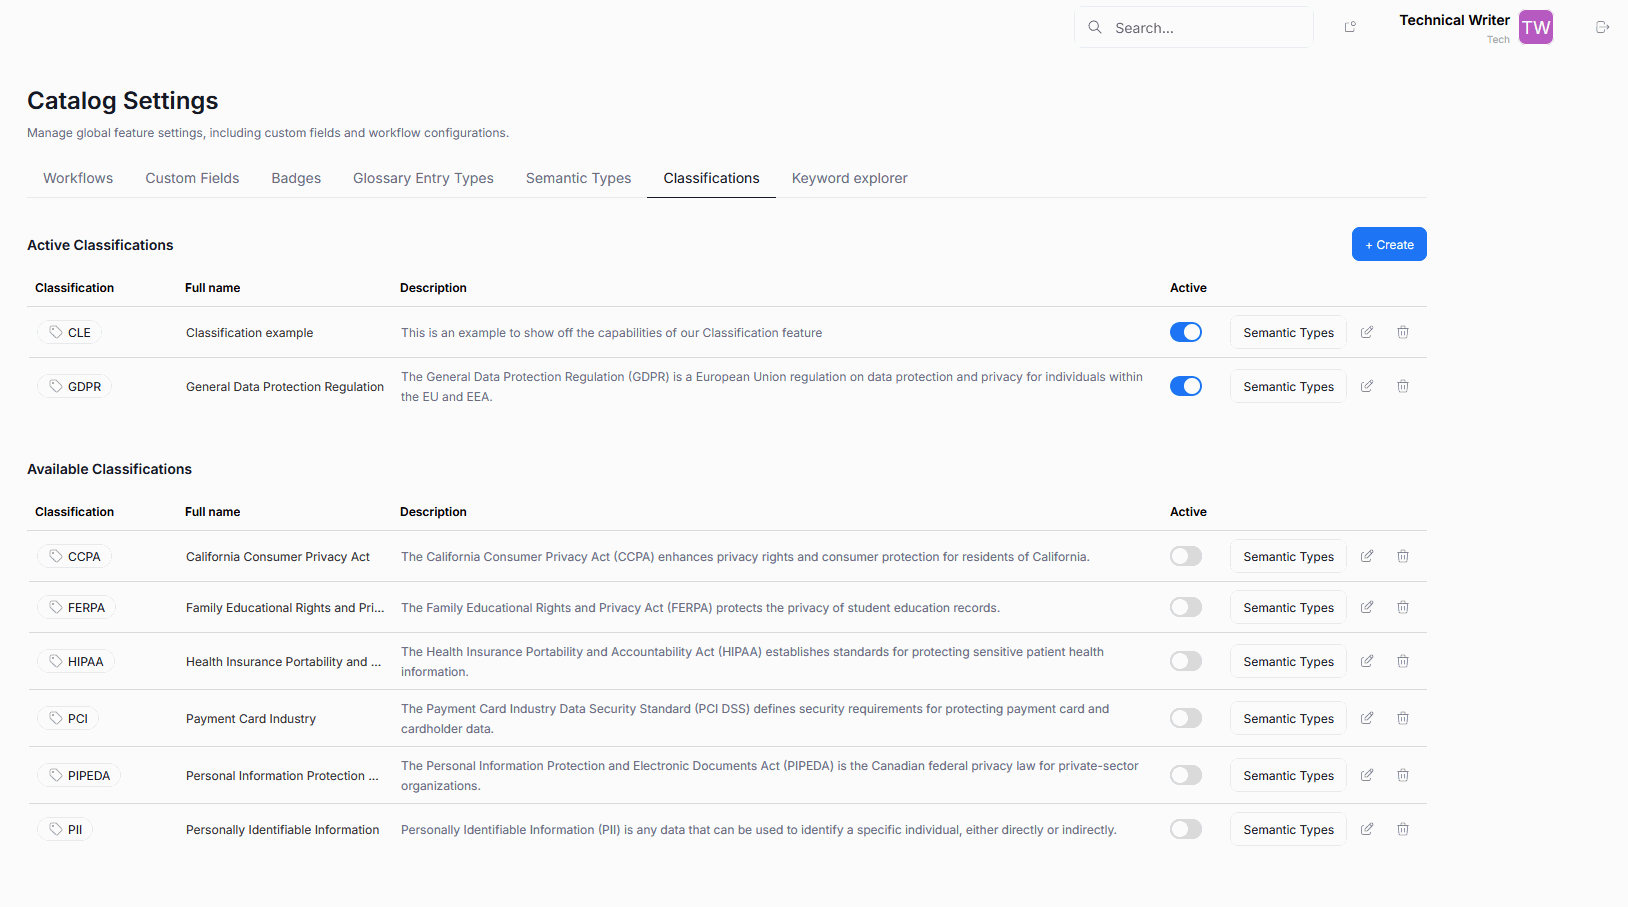
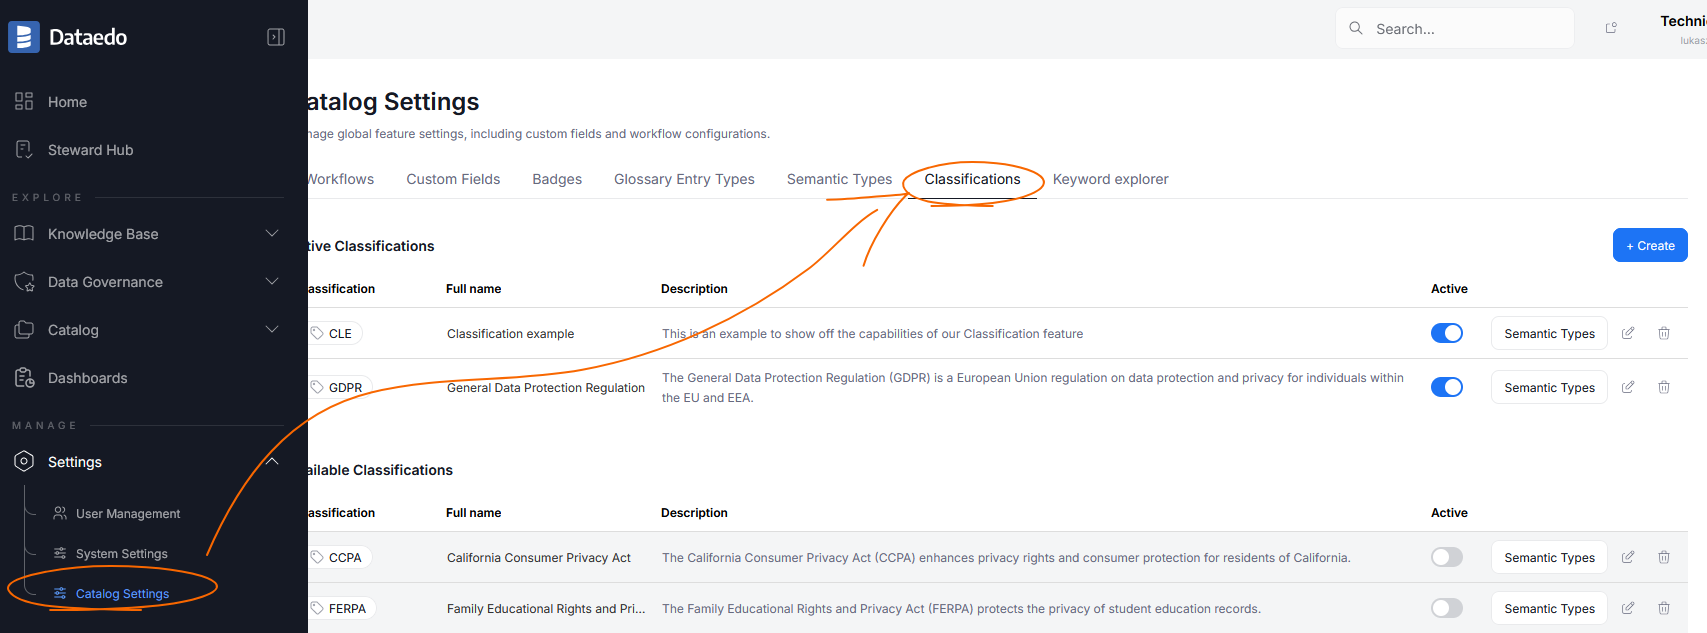
Only the Classifications that are enabled in settings will run during Metadata Imports. To enable a Classification, head to Settings>Catalog settings and click the Classifications tab. Choose the Classification you wish to use, and click its Active toggle.
Configuring Data Classification
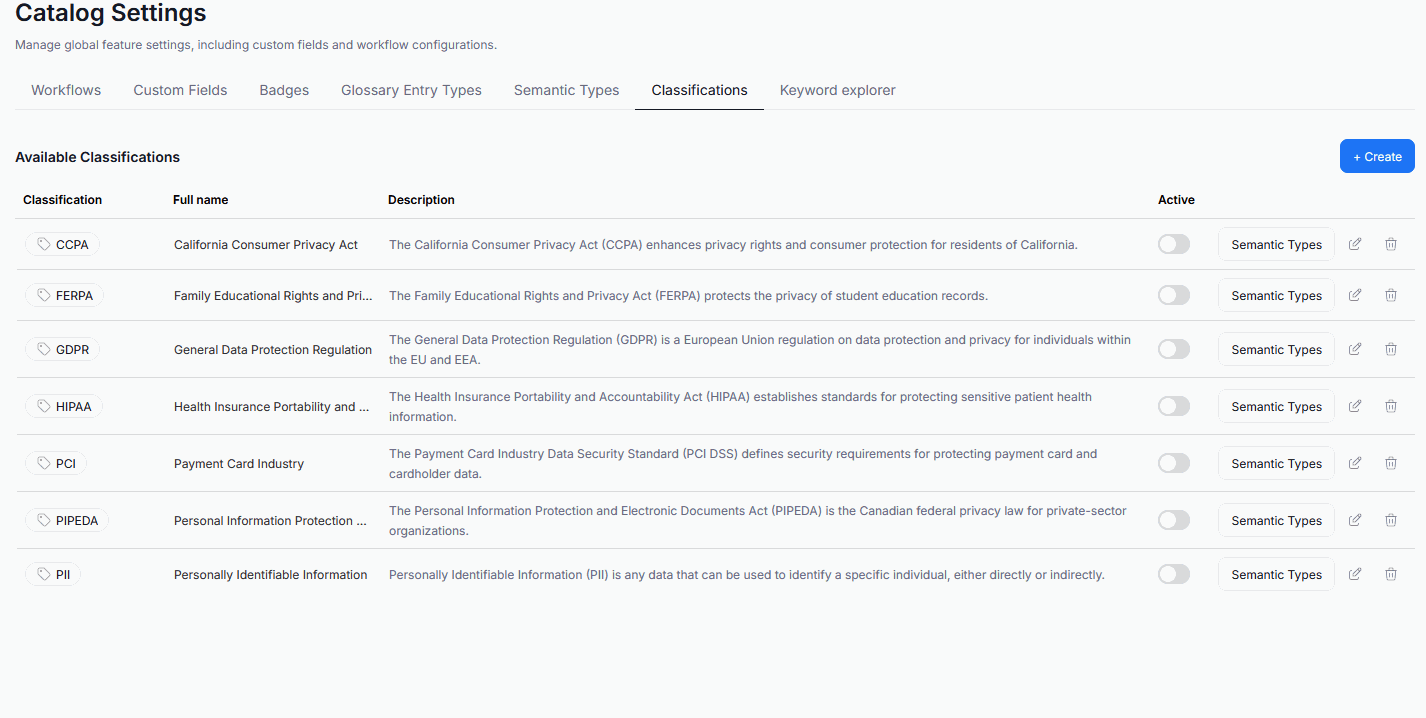
The Classification tab in Catalog Settings shows an overview of all Data Classifications in your repository. Check out which ones are included in Dataedo by default.
This tab also lets you add new Classifications or edit existing ones.
Edit existing Classification
To Edit an existing Classification, click the Edit icon next to its name.

Add a new Classification
To add a new Classification, click the Create icon.

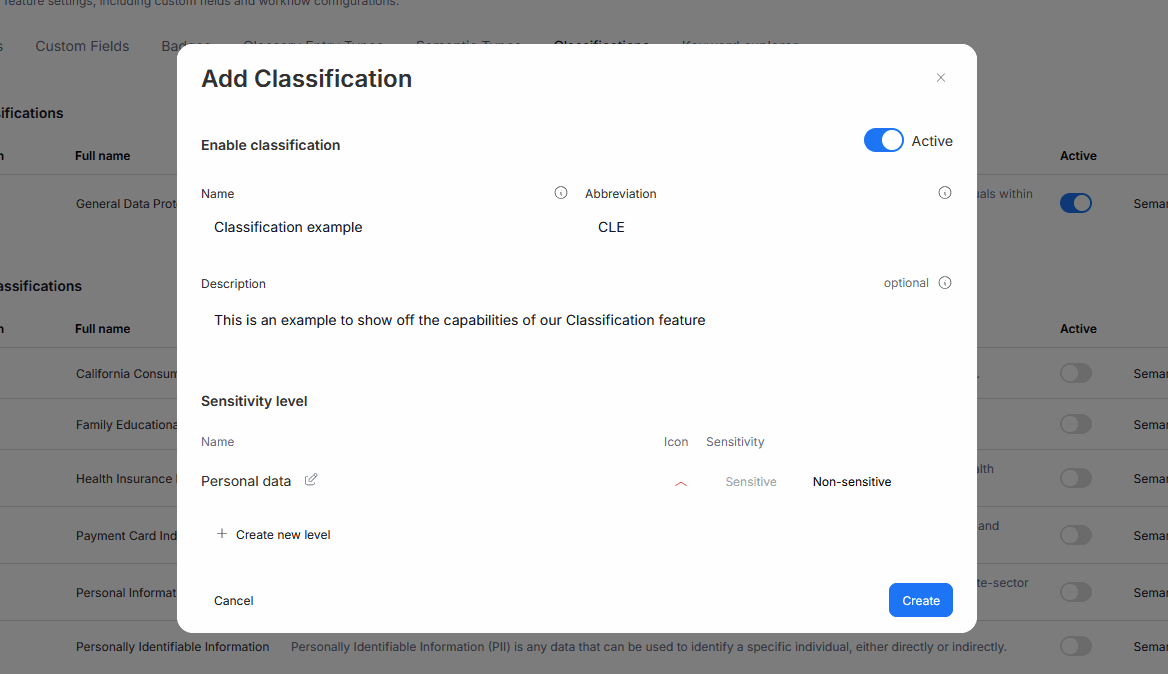
Classification popup
The popup for configuring classification is identical when adding new classification, or editing an existing one. The only difference is that in the latter case some data is already prefilled.
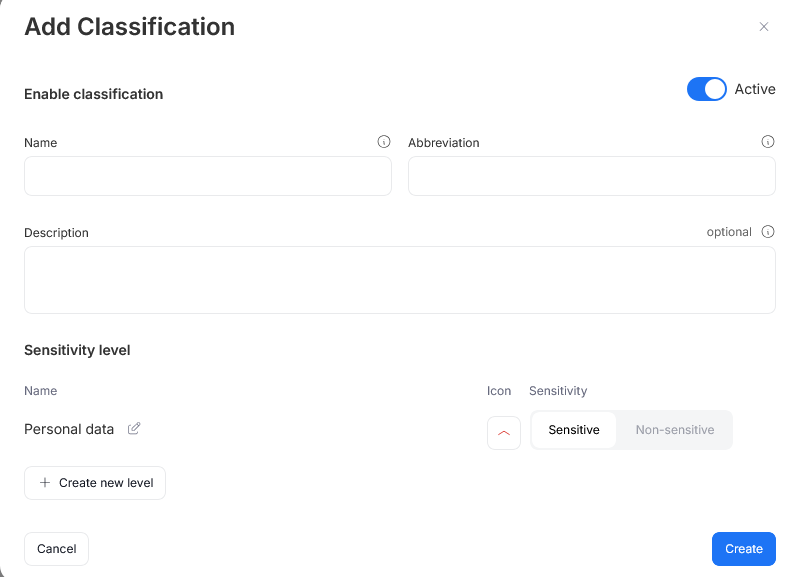
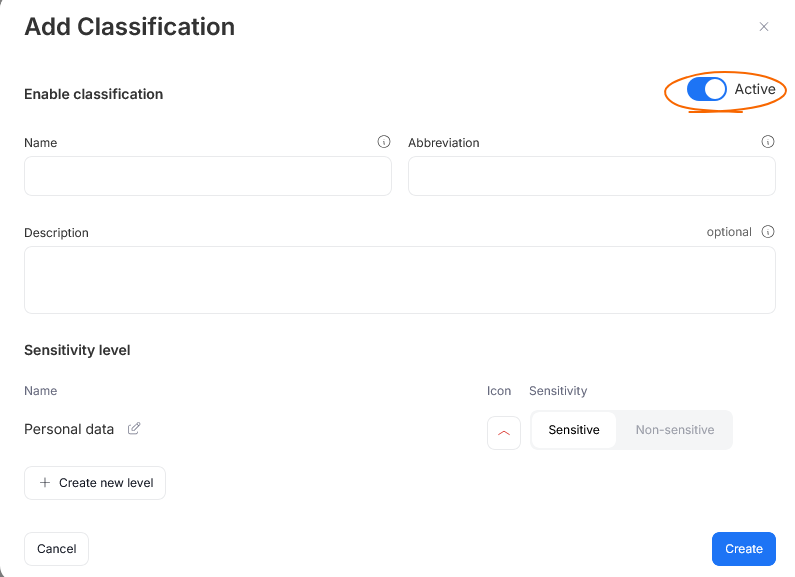
Active toggle
The Active toggle, determines whether the Data Classification should become active after saving your Data Classification.
Describing your classification
Each classification should have a Name — preferably a full name of a legal act/Information protection policy it is based on — and an abbreviation — a short label which will be used throughout the Portal to refer to this particular Classification.
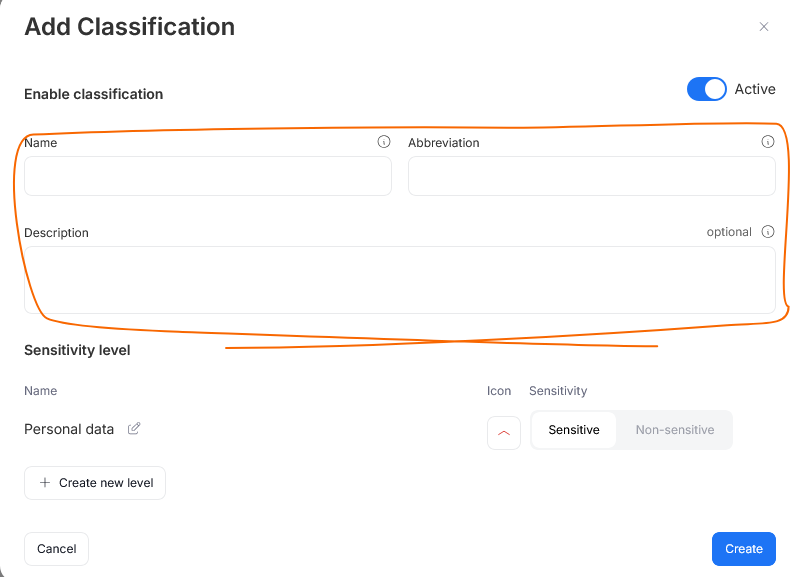
You can also optionally add a description to provide more detail regarding the classification itself, or the reasons behind its implementation.
Description and Name will be visible only in the Classifications tab.
Sensitivity levels
Data Classification usually consists of multiple levels of classified data. Each level has a name (eg: Personal, Medical, Public, etc.) and a degree of confidentiality (sensitive/non-sensitive).
The final section of the pop-up allows you to define Sensitivity Levels and decide whether they should be treated as confidential or not. You are also asked to select an icon for each level. This icon will be used throughout Portal to mark that level.
Linking semantic types
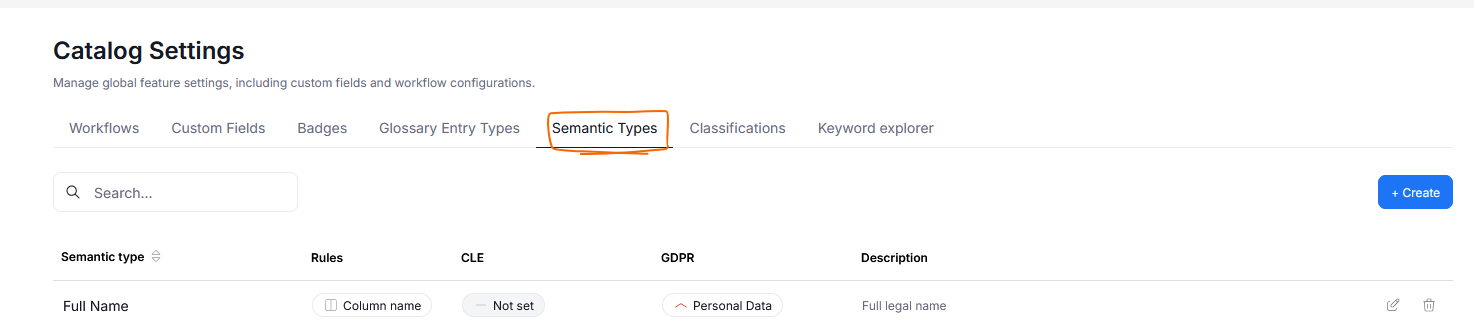
Data Classification works by comparing Data Classification configuration against columns' Semantic Types. In order for your Classification to work properly, each Classification category should be mapped to specific Semantic Types. You can do that in the Semantic Types tab of Catalog Settings.
Find the Semantic Types you want to correspond to Classification categories and click their edit button.
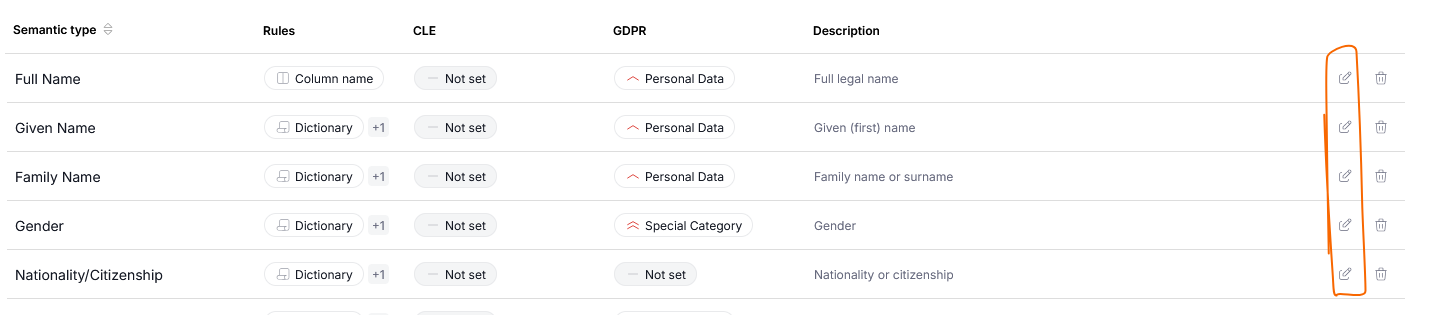
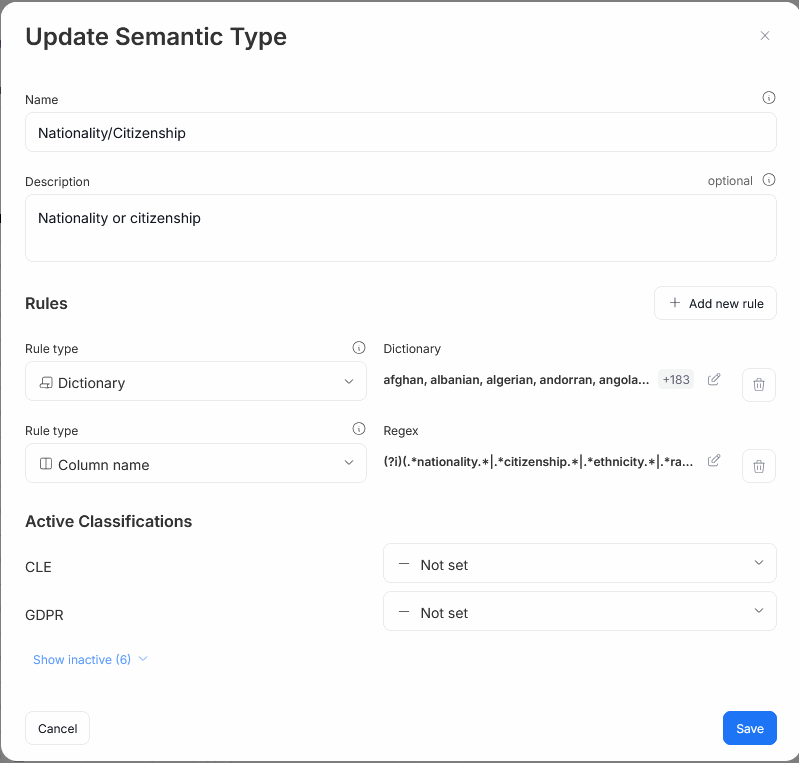
This opens a popup. In its bottom part, you can see all Classifications currently active in your repository. You can use the drop-downs to map the edited Semantic Type to a chosen Classification category. Remember to use the Save button to finish the process.
To learn more about modifying and setting up Semantic Types, read the dedicated article.
Preview Classification's Semantic Types
In the Classifications tab, each Data Classification protocol has a Semantic Types button. Clicking it opens a sidebar where its categories are displayed, together with Semantic Types linked to them.