Installing Dataedo Repository on Azure SQL
Create an Azure SQL Database
To create a repository in Azure, first create an Azure SQL database. Find out more here.

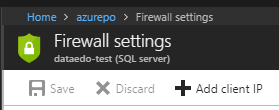
Make sure to whitelist your IP so the app can access the database. To do this, click Set server firewall when database creation finishes:

Then, click Add client IP, then Save to add your IP to the whitelist:
After clicking your database name, you can copy its host address by clicking the icon to the right of the Server name field:

Repository creation
You can create the repository using Portal's Configure repository section. This page opens automatically when you access Portal that does not have a repository configured yet.
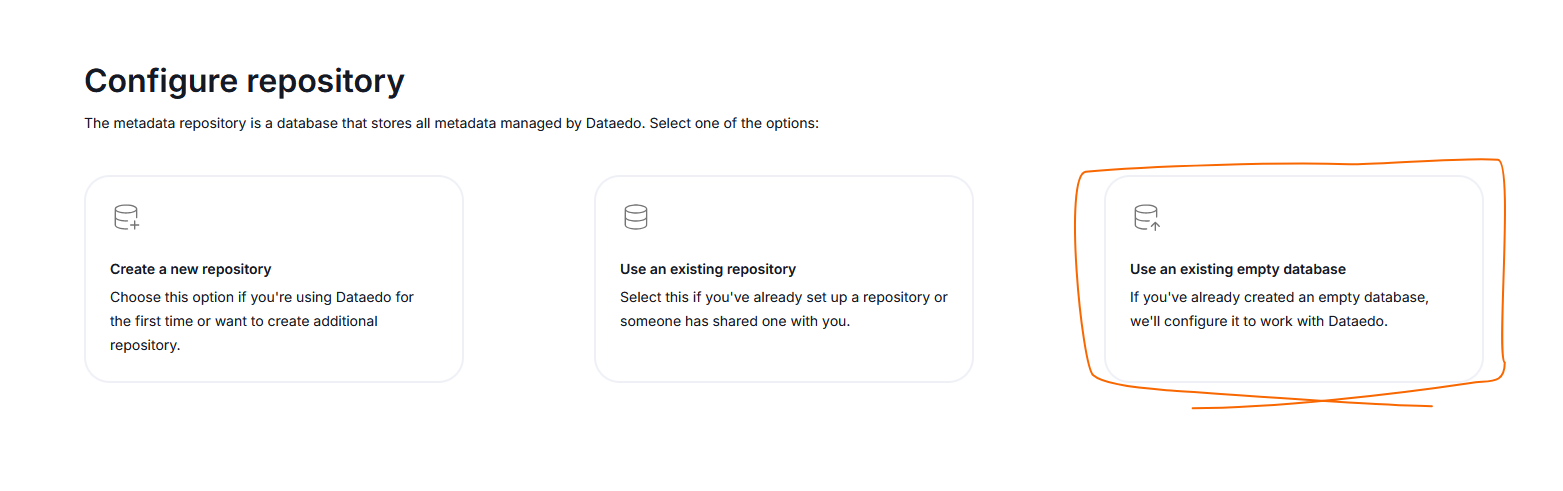
- Click the Use an existing empty database option, to open up a connection wizard
- Provide your Azure login details and the server name you copied in the previous step
- Finalize by clicking Create repository
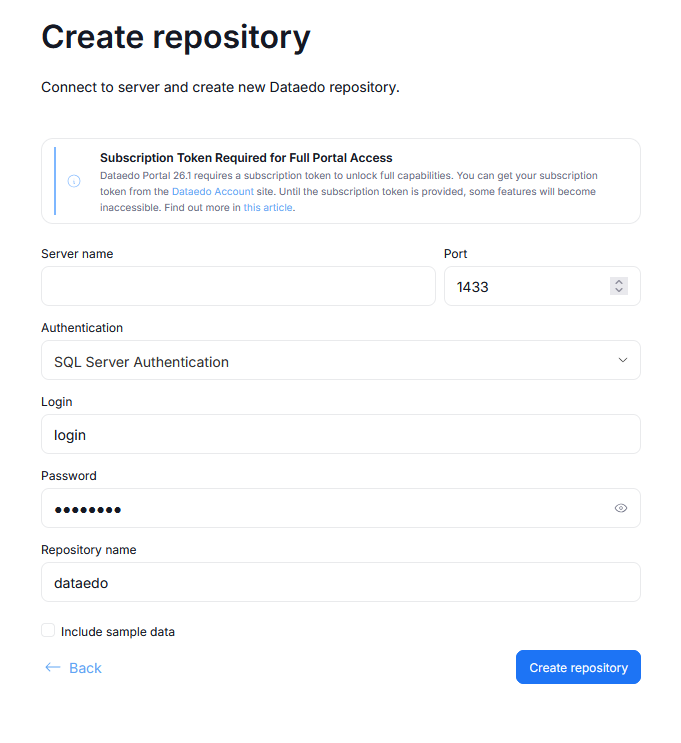
This will automatically run queries in your Azure database that create a Dataedo repository. The page will let you know once the process is finished.
Afterwards, you should see a screen asking you to create a Dataedo account. Find details here..
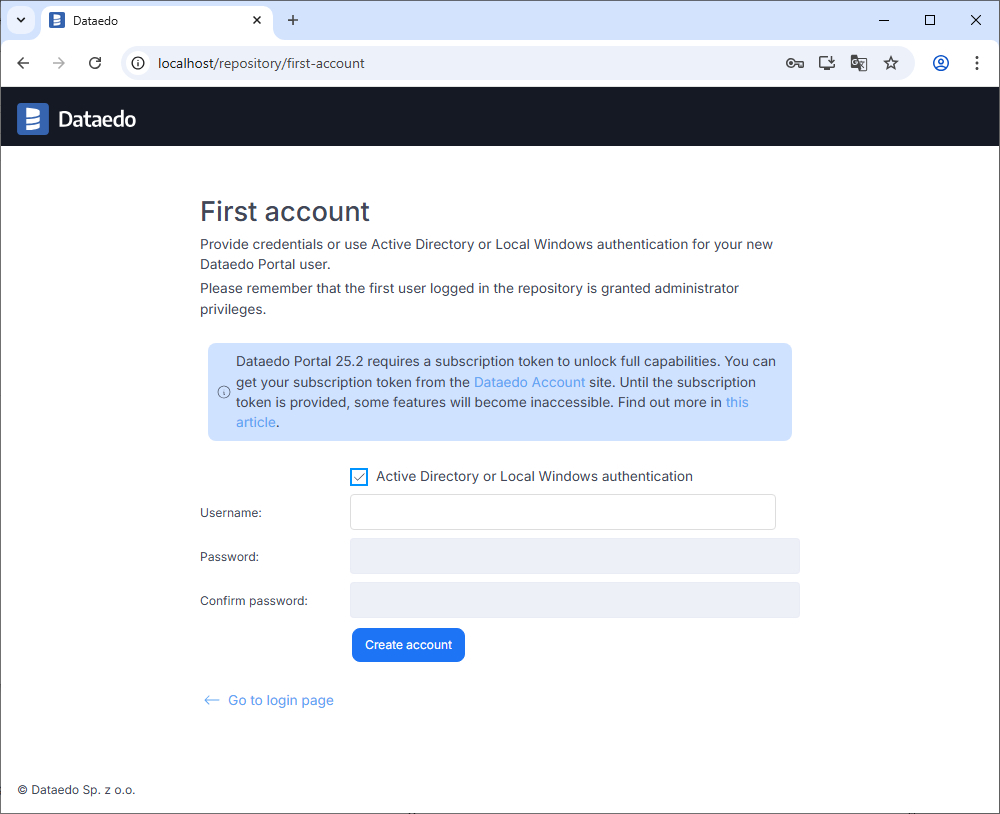
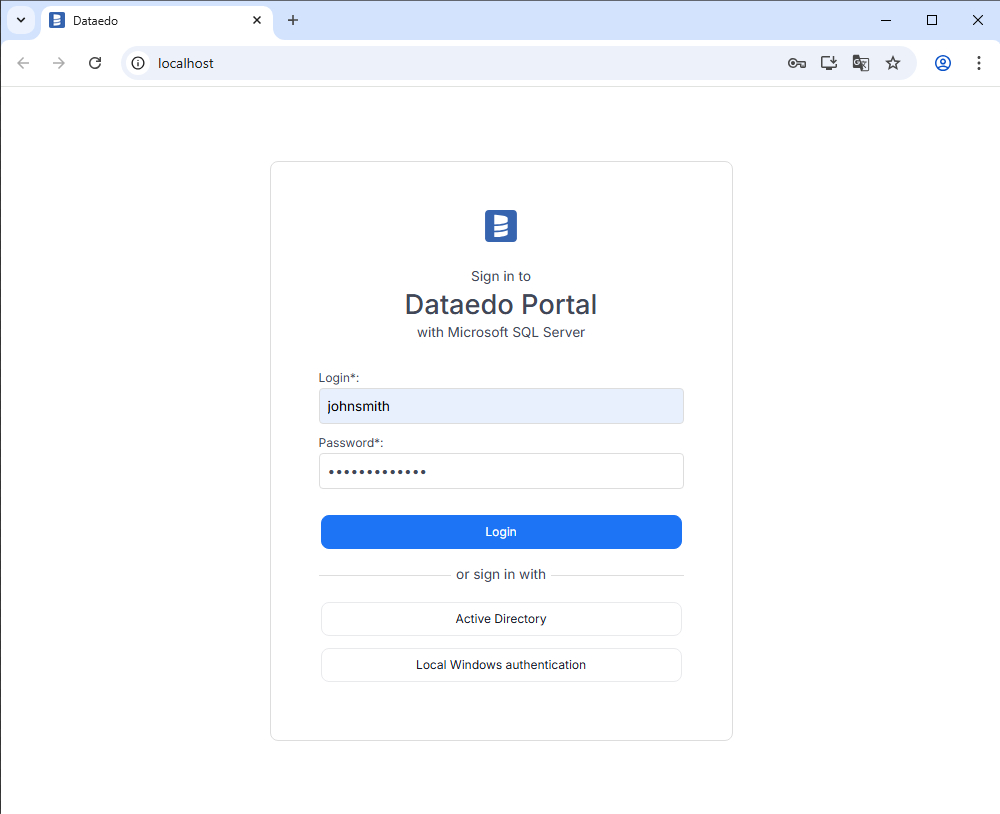
Once this is done, you will see a login screen when accessing your Portal. Provide the credentials you established in last step. You can now start configuring your Portal!
User creation
If you don't need additional user accounts, skip this step.
We recommend creating new user using the dedicated UX process directly in Portal. You can start the user creation by navigating to Settings > User Management and using the Add User button. The process is explained in detail here.
If you want to use Desktop, make sure that all of your users have a database user. You can create users through the CREATE USER command in SSMS. Find out more details here.
One way to do it is to switch to the repository database and create a new database user:
CREATE USER new_user WITH PASSWORD='92piTCh%$!~3K9844';
After creating the user, add it to the USERS role:
EXEC sp_addrolemember 'USERS', 'new_user';
The user can now connect to the repository with the username and password specified above.
Connecting to the repository in Desktop
Run Dataedo, and double-click the New connection button.

Fill in the connection details. Use the server name you've previously copied as Host.


