Installing Dataedo Repository on SQL Server
Dataedo works on both SQL Server Standard and SQL Server Express. However, the latter comes with some database size limitations, which might be influenced by scanning large databases or using features like history of changes.
Initial Setup
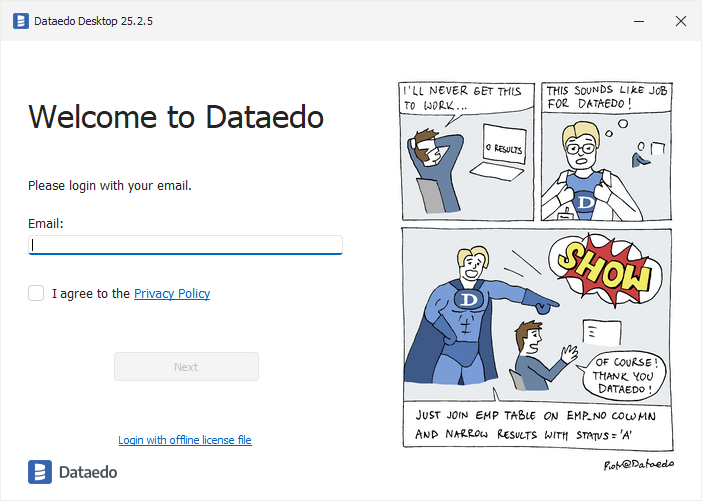
Enter your email address for authentication, select the 'I agree to the Privacy Policy' checkbox after reviewing the agreement, and click "Next."
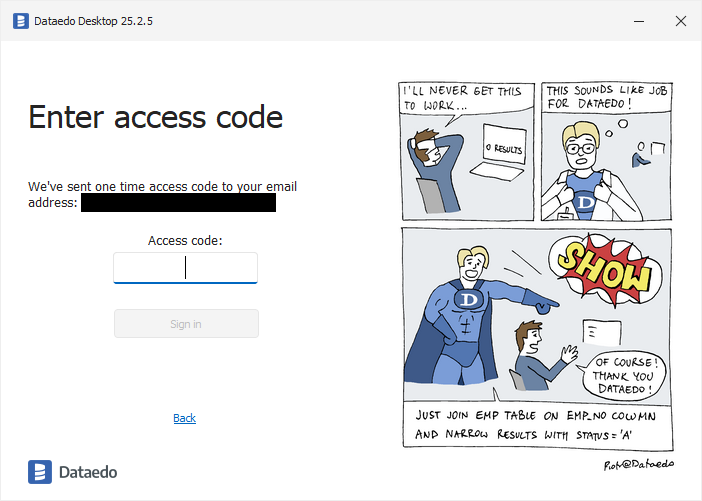
You will receive a verification code in your email. Paste it into the "Access code" field and click "Next."
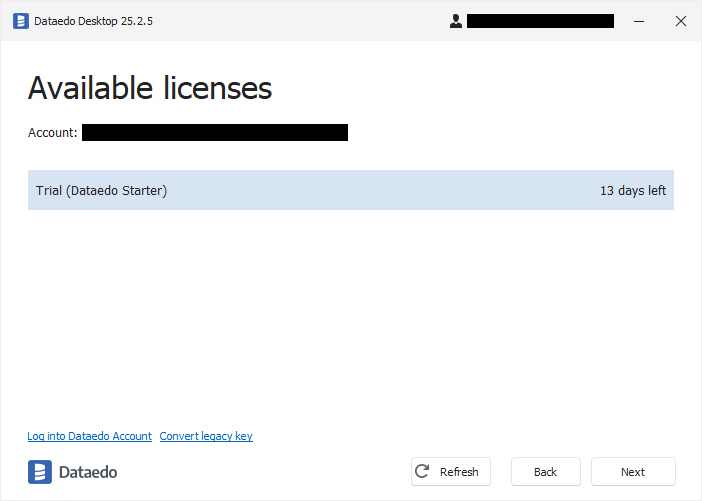
Select your trial license, click Next.
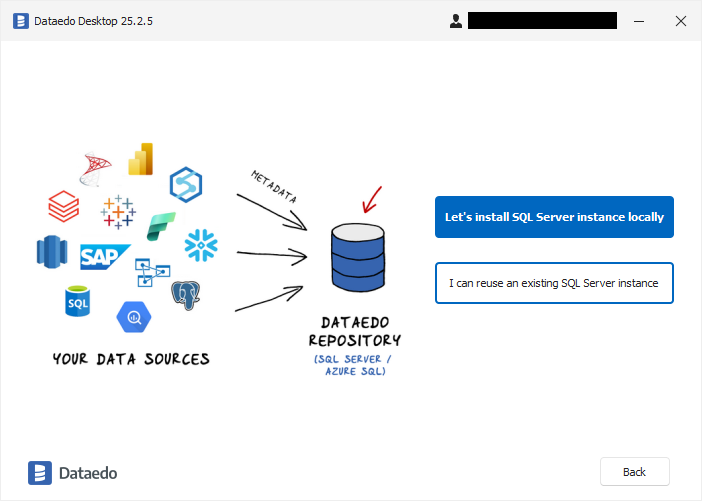
If you do not have your own repository yet, select "Start using Dataedo."

If you have created your database, select "I can reuse an existing SQL Server instance." Otherwise, click "Let's install SQL Server instance locally."
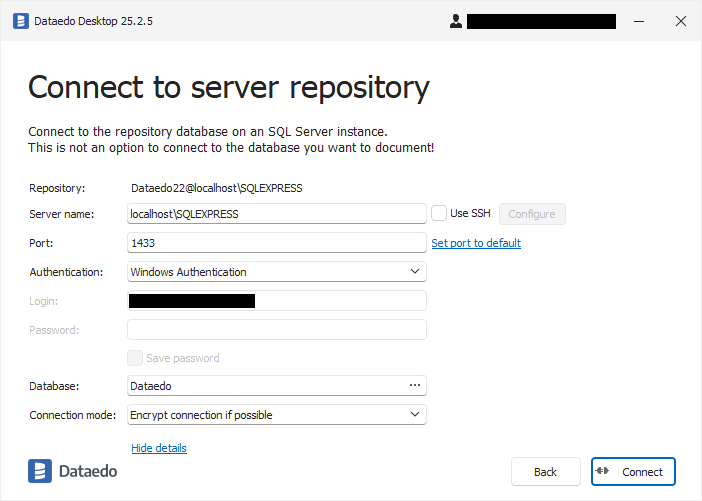
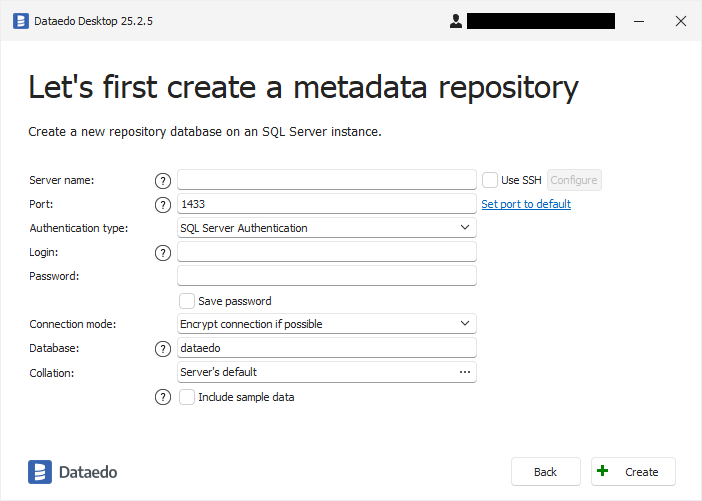
Enter the server details for your database, the login and password for the user, and the name for the repository. Optionally, you can add different types of data samples to test Dataedo.
Creating an Additional Repository
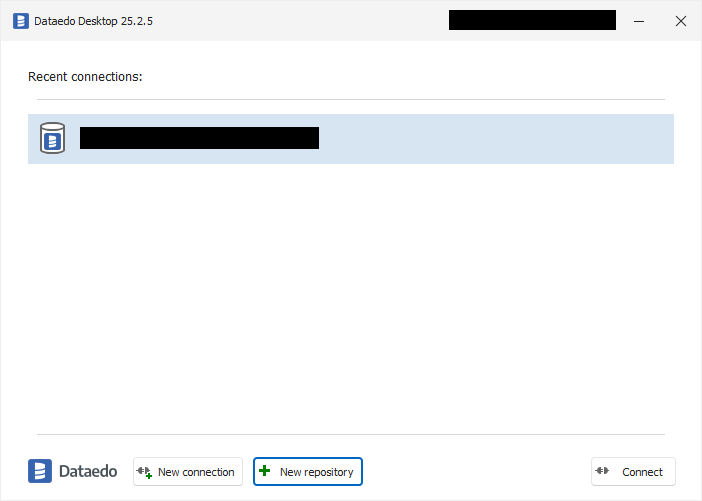
To create another repository, run the Dataedo editor application. On the welcome screen, choose the New repository option.
Now you need to provide connection details for your repository and log in as a user that has 'create any database' rights on the server (sysadmin role, for instance).
By default, the repository database name is 'dataedo'. However, you might want to have it a different name. One reason for this might be that you have multiple repositories on your server. To change it, click on the field with the database name and provide a new one.
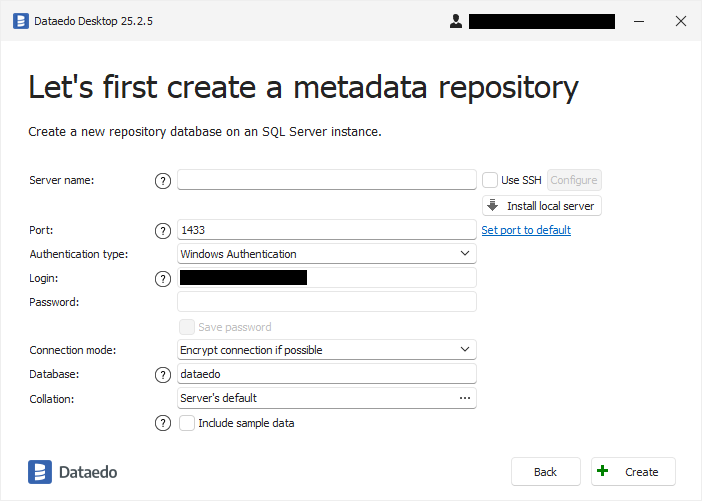
Click the Create button to connect and create a new database.
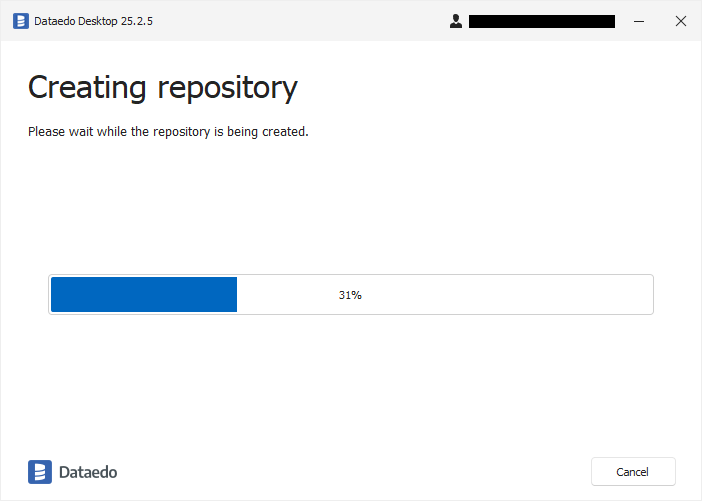
If your connection is established, your permissions are sufficient, and a database with the provided name doesn't exist yet, Dataedo will create a new database and necessary tables and data.
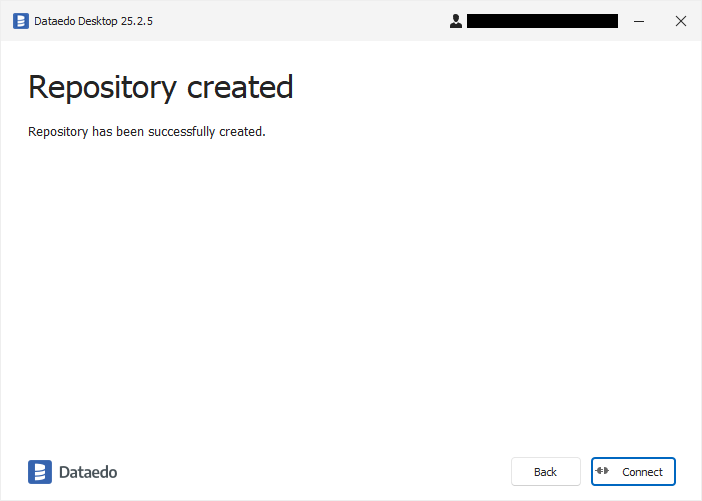
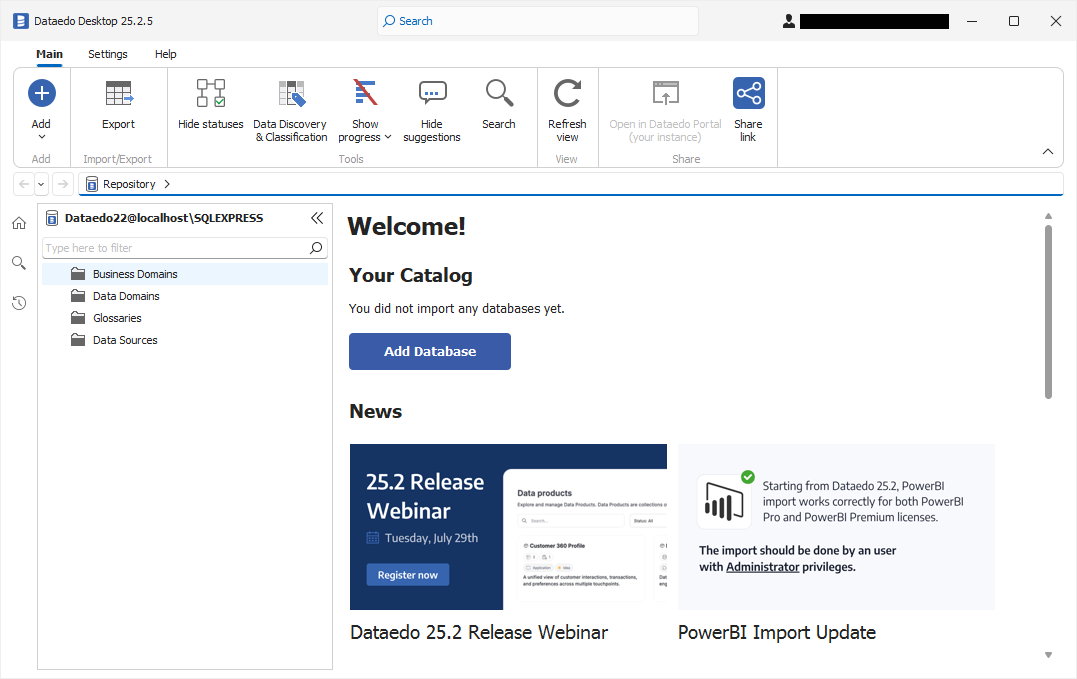
Congratulations, your repository is created, and you may start your work. Click the Connect button to connect to the repository.
You may now log into your new repository. Connection details are pre-populated, and if you want to connect as the same user, just enter a password. If you want to connect and work as a different user, create the new user account with Administration Console.
Connection to the repository will be saved in your recent connections list. To connect to it later, just double-click the saved connection details and provide the password.
