Dataedo Portal quick installation
This tutorial is a step-by-step guide to installing and correctly configuring the Dataedo Portal. It's intended for users who didn't previously use Dataedo Desktop.
Following this tutorial will install Dataedo Portal, a free SQL Server 2019 Express instance, and configure it for local use (no access from other machines in the network). If this doesn't fit your needs, check the other guides here.
First, download the Dataedo Portal installer. Make sure no Windows updates require a restart, since this may complicate the installation process. If possible, restart your machine.
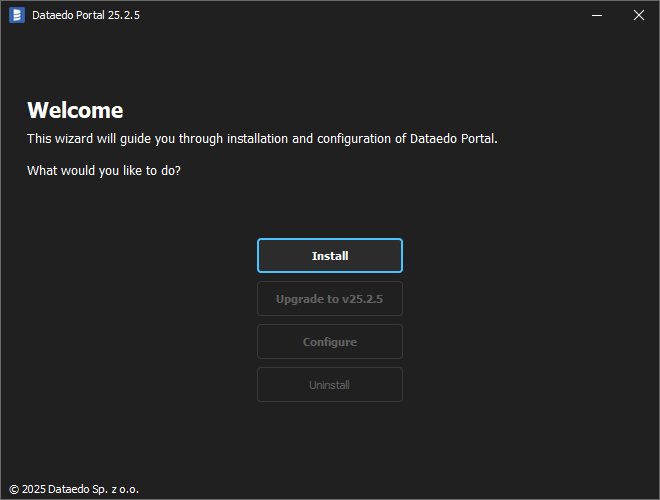
Run the installer with administrator privileges and select the install option.
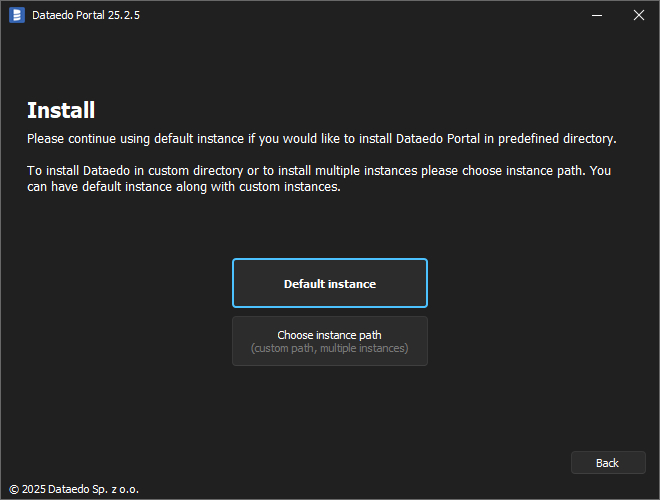
You can install Dataedo in the default location or choose the path yourself.
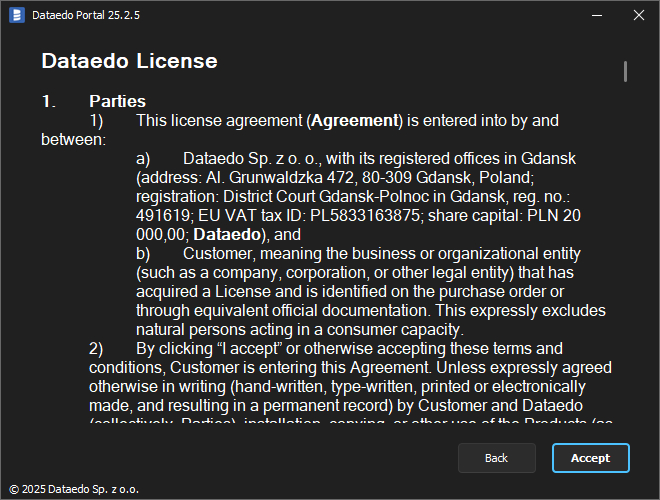
Accept the Dataedo license.
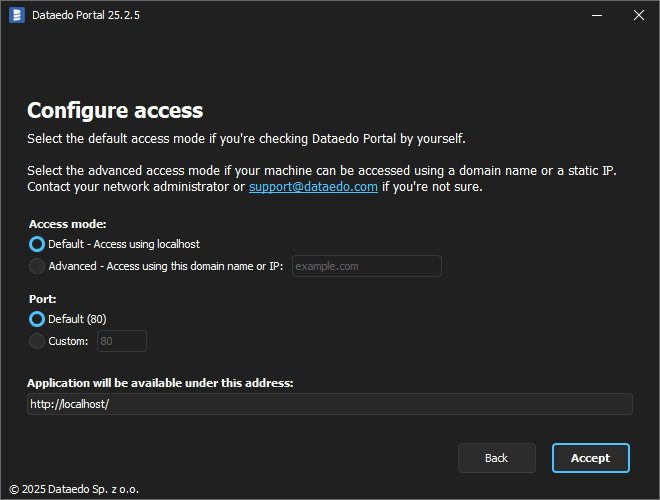
Next, the access configuration is available.
Choose access URL - the Default option is intended for local use. You can change this setting later.
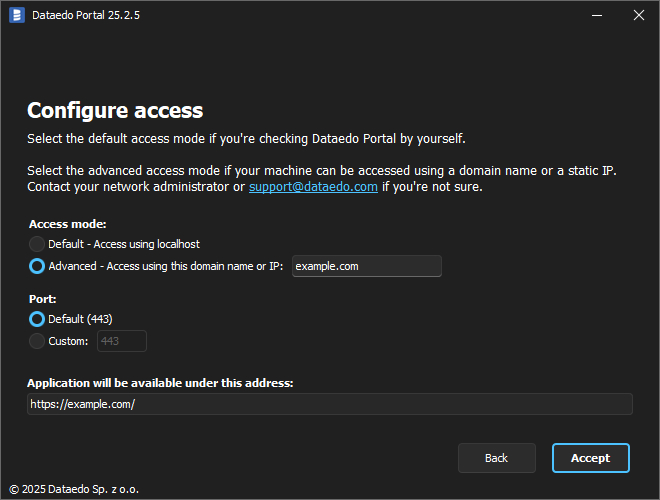
Alternatively, use the Advanced option if the Dataedo Portal should be accessible using a domain name or with a static IP.
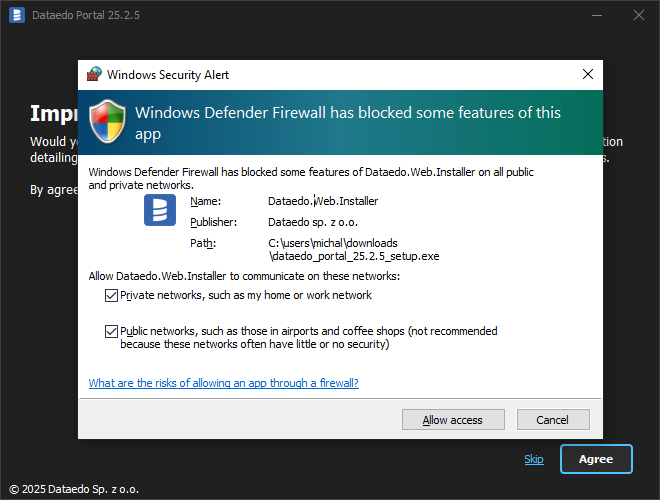
Click Allow access button to allow the application through Windows Defender Firewall.
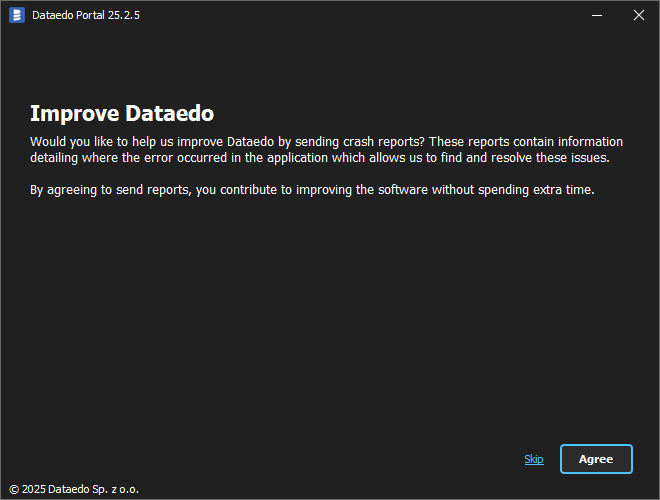
You can help us improve Dataedo by enabling automatic crash report sending. To do so, click Agree button. Otherwise, click Skip.
The installer will start downloading the required packages.
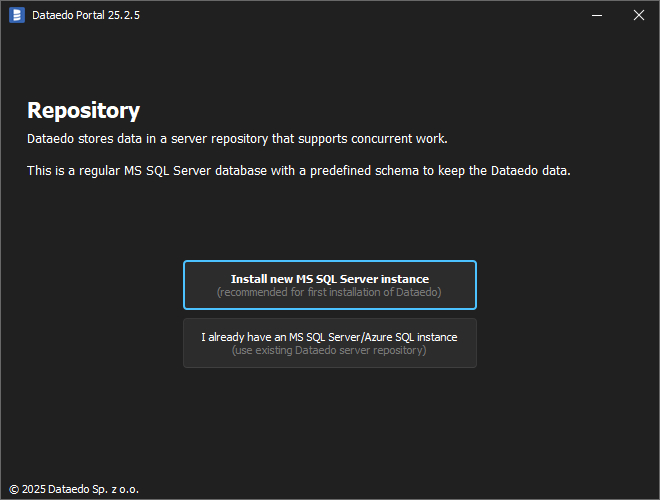
Select the Install new MS SQL Server instance option.
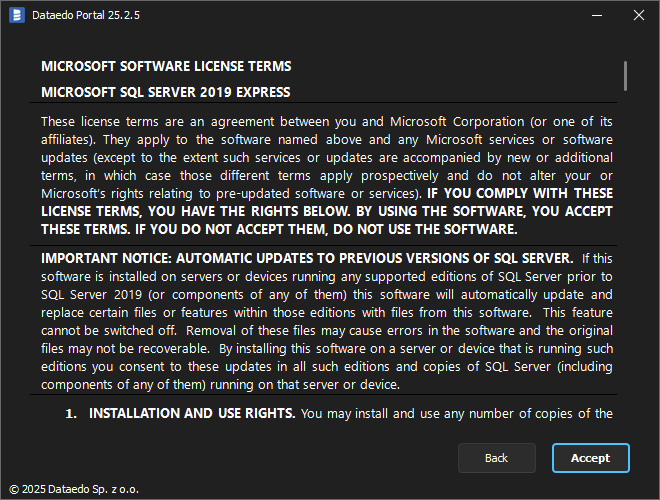
Read and Accept the license for SQL Server 2019 Express.
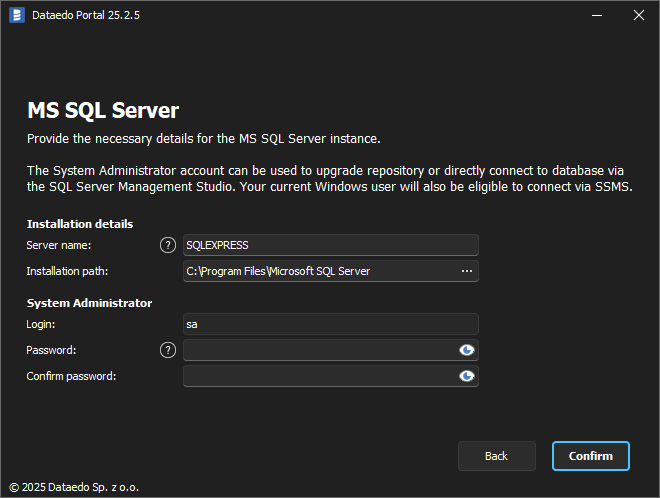
Next, configure the Installation details as Server name, Installation path and System Administrator password. Then, click Confirm.
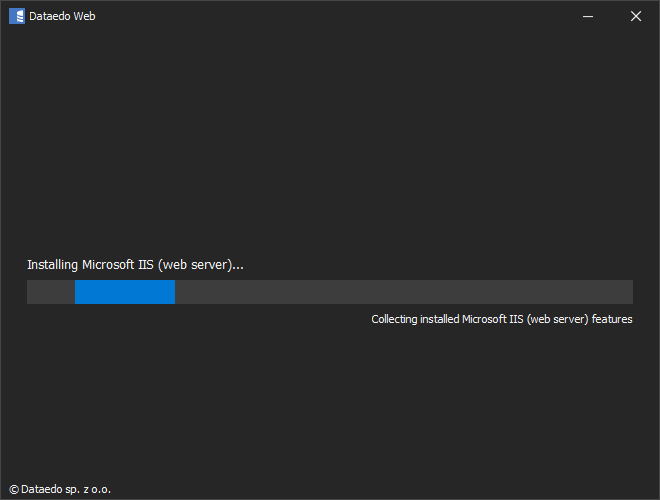
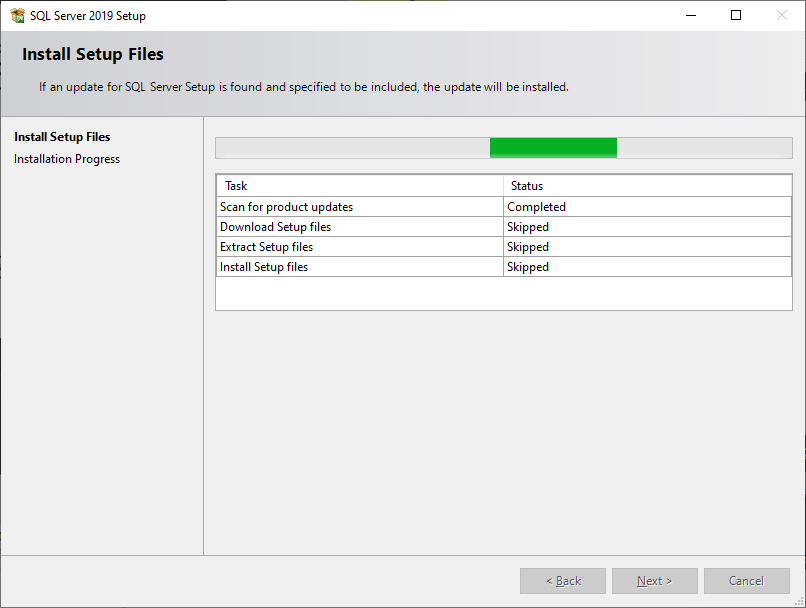
After downloading finishes, the application will install the packages.
Wait for SQL Server to install.

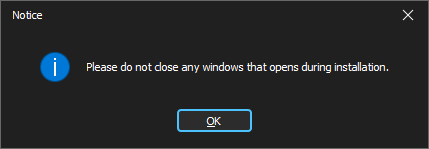
During SQL Server installation, new windows may open. Do not close them, or installation may fail.
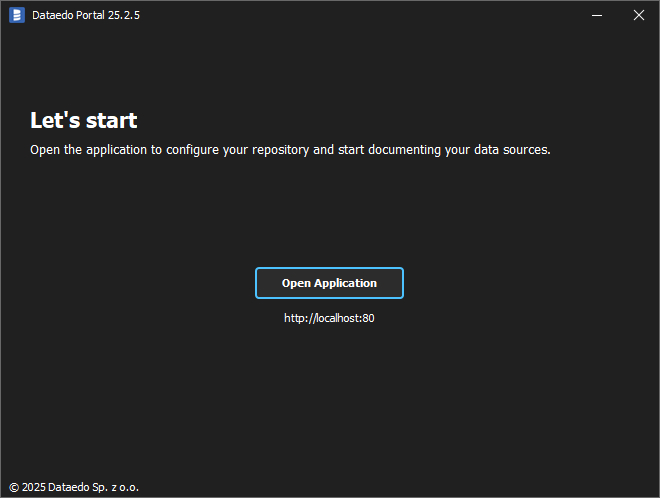
The installation is over. Note down the address to the application, then click Open Application button or paste the address into your browser.
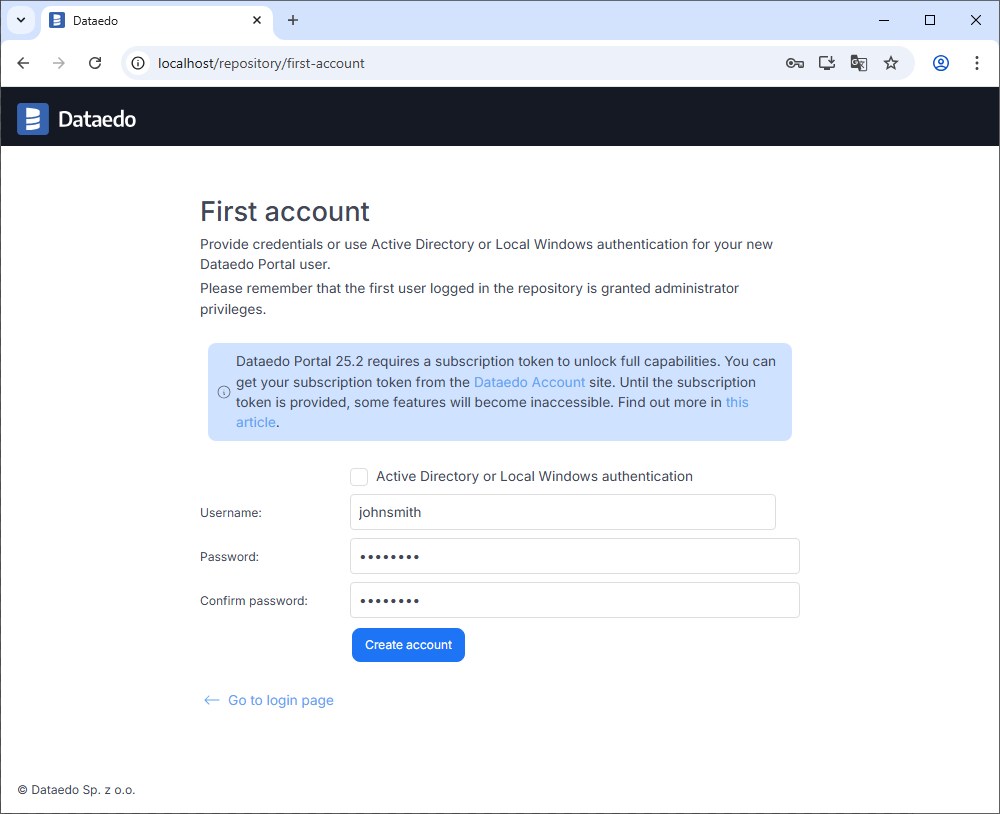
Now, create a user account to access Dataedo. If you want to use Windows authentication, type in the username in COMPUTERNAME\USERNAME format. If you want to use Active Directory authentication, type in the username in DOMAIN\USERNAME format.
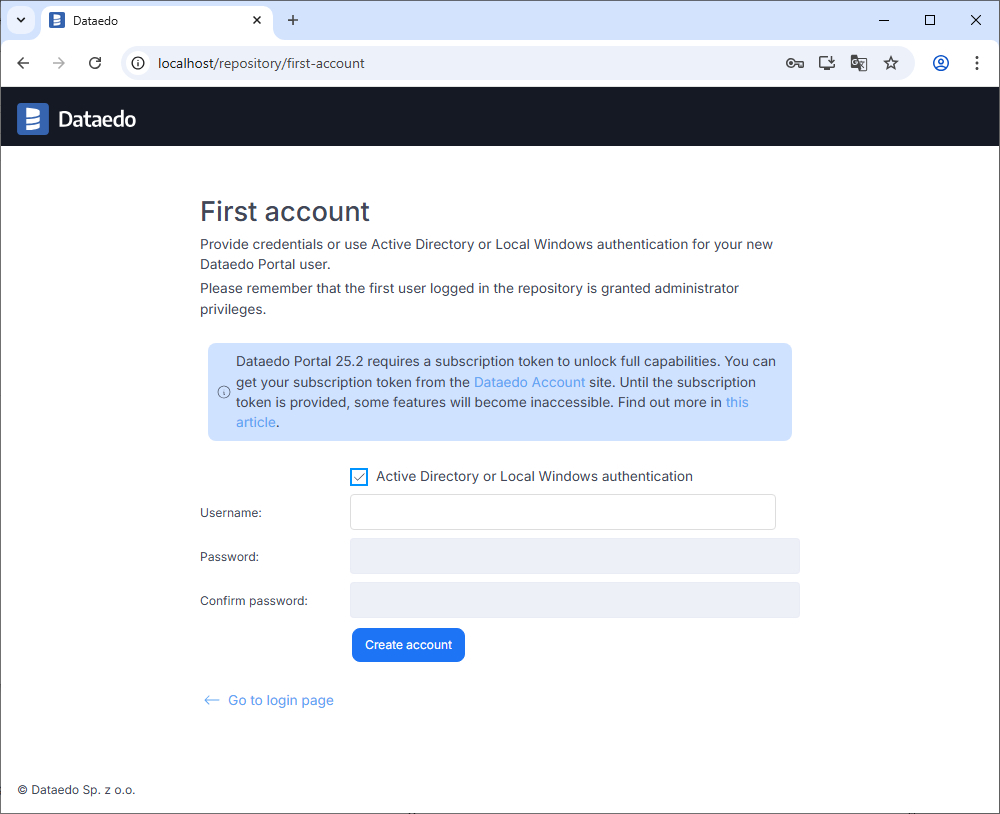
Otherwise, uncheck the Active directory or Local Windows authentication box and type in a username and a password for the new user. Then, click Create account.
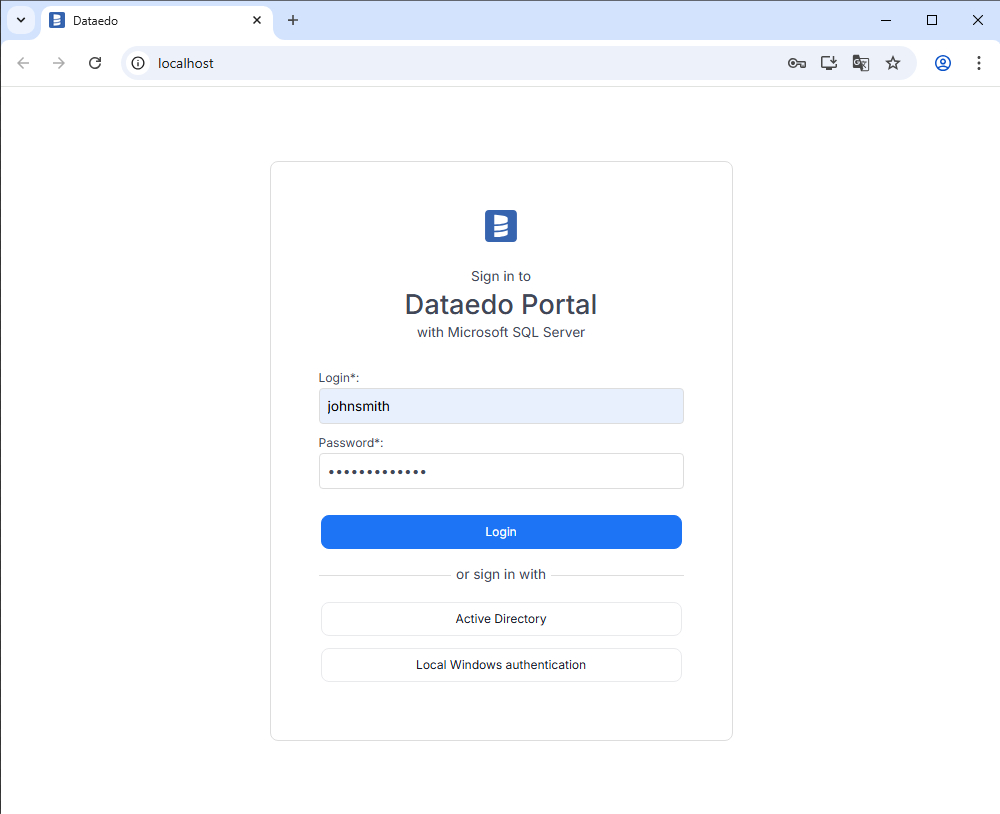
The configuration is now complete, and you can log in to the application with the username created in the previous step or sign in with Active Directory or Local Windows authentication. Use the same credentials to log in to Dataedo Desktop.
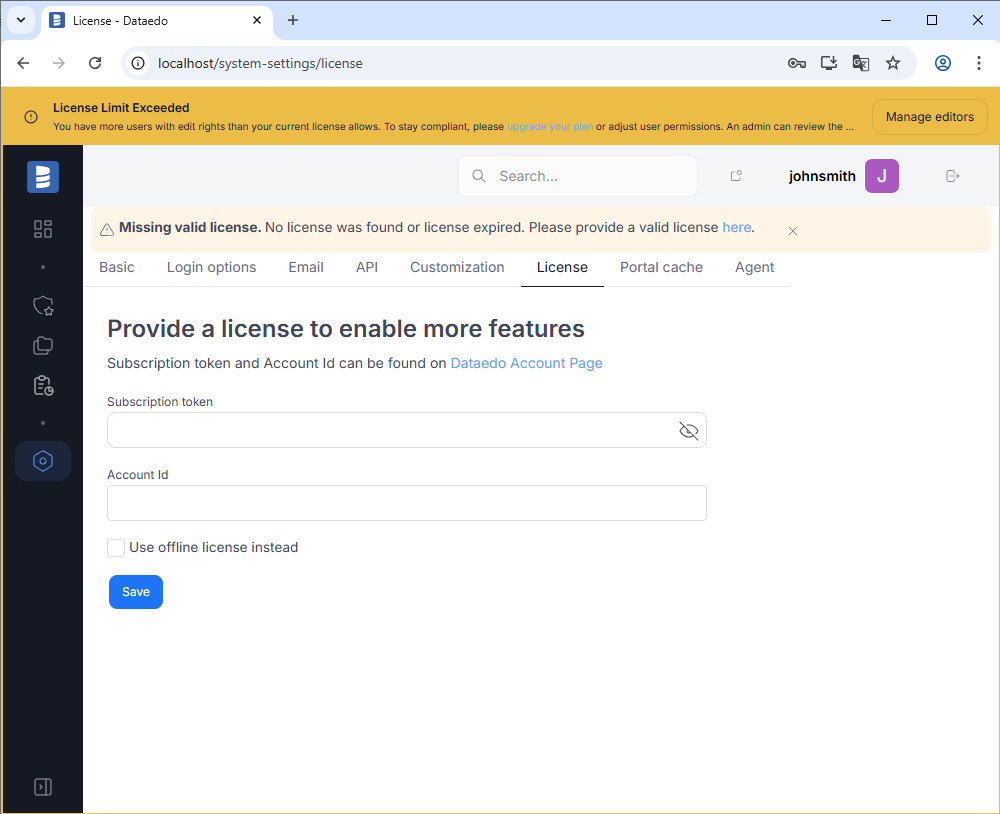
In some cases, you might be asked to provide your license. Use the redirection at the top, then enter the Subscription token and the Account ID.
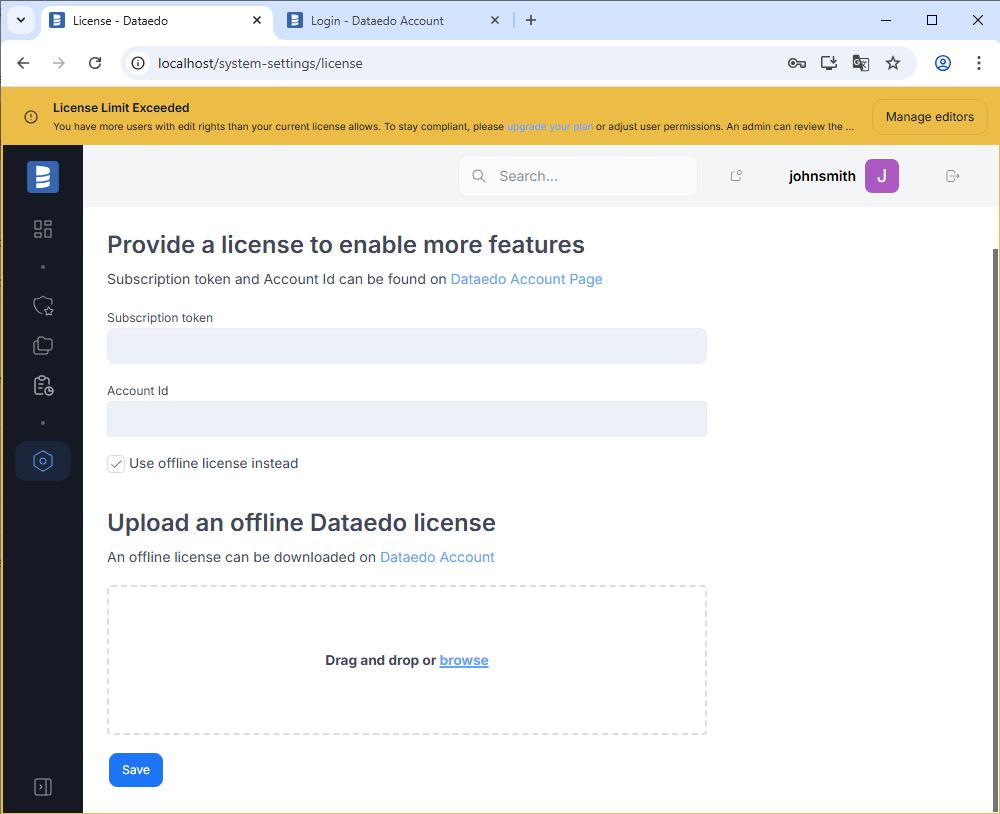
Depending on your license, you may be allowed to use the offline license. In that case, click the Use offline license instead and upload it. To learn more, go to the license guide.
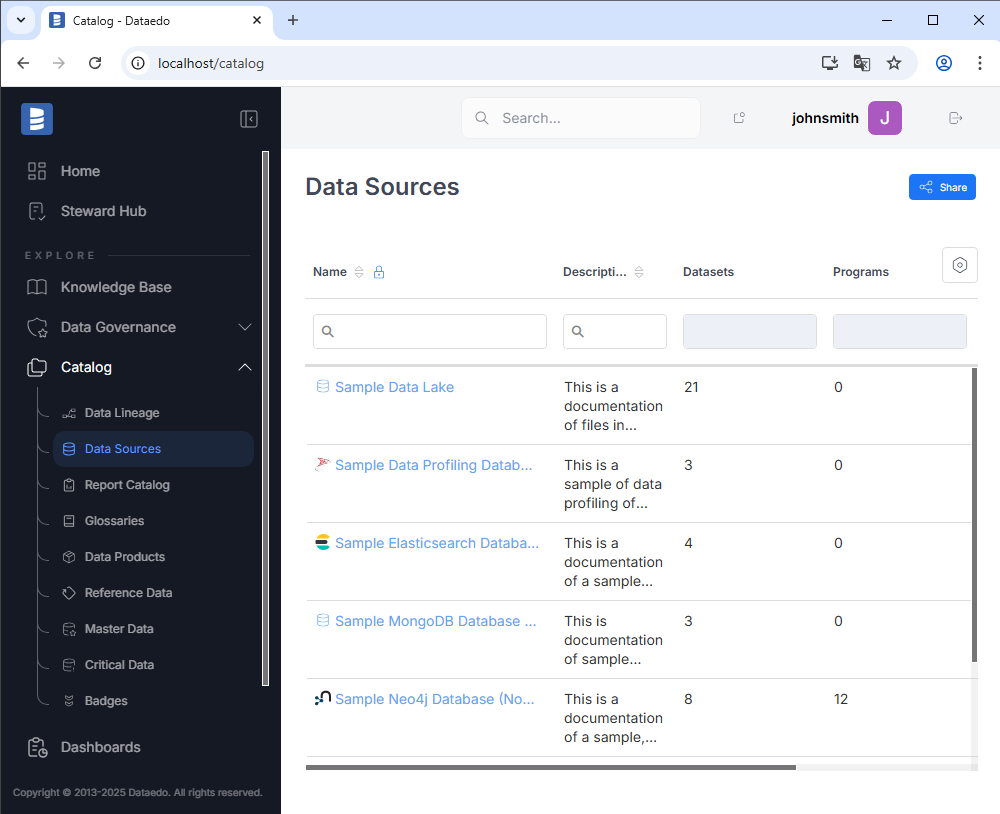
The installation and configuration process is now done. Now, you can access Dataedo Web.