Creating a new repository with Dataedo Web
After installing Dataedo Web, you need to create a repository to store metadata in. If you already have created a repository, skip to this guide.
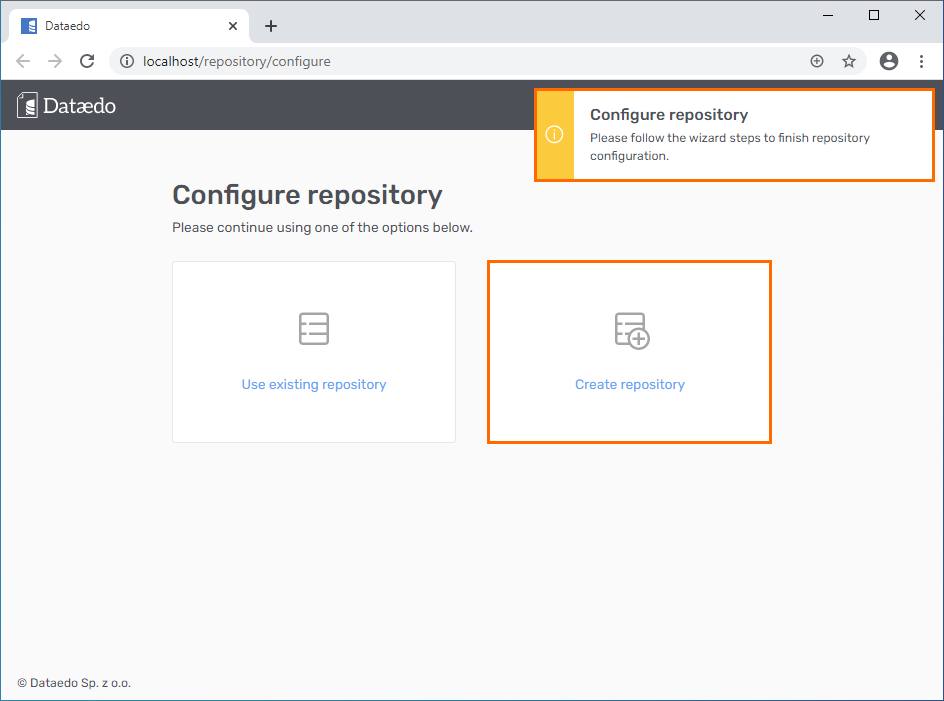
Open Dataedo Web. Choose the Create repository option.
On the next page, specify connection details Dataedo Web will use to create and later access your repository. This page may be split into three main sections explained below.
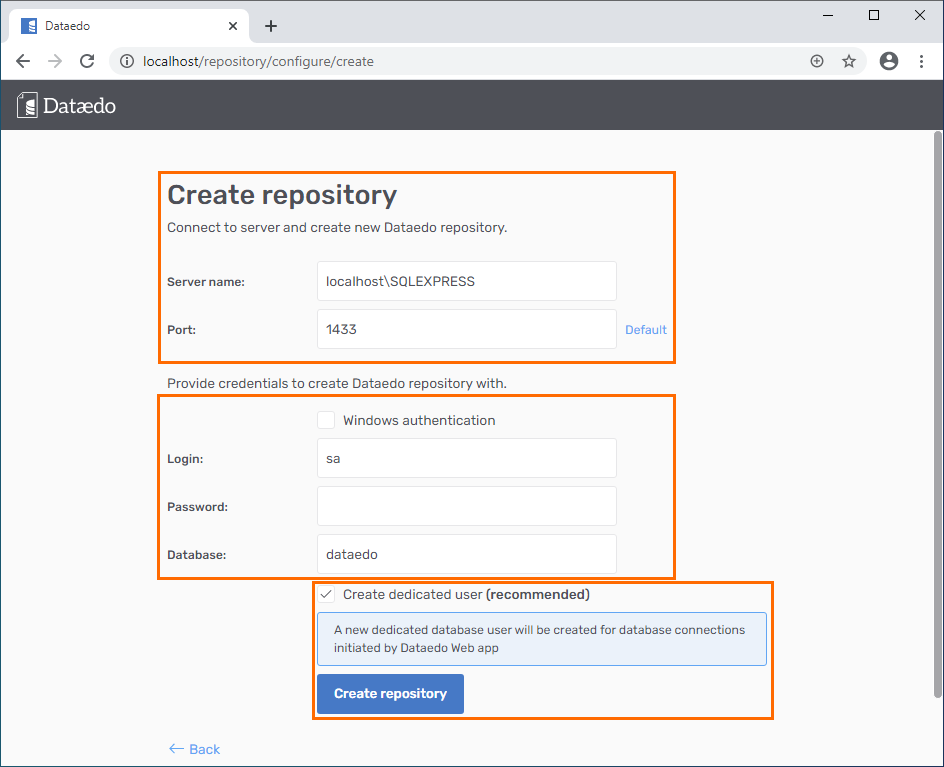
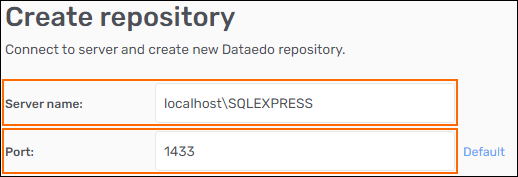
First, specify the host and port for your SQL Server instance. If you use an Azure SQL database, check this guide instead.
Next, specify the login used for the connection. The login requires the CREATE ANY DATABASE permission. If you want to use Active Directory make sure your login is in DOMAIN\login format and the Windows authentication box is checked. Due to technical reasons, you will need to provide the password manually for the first connection.
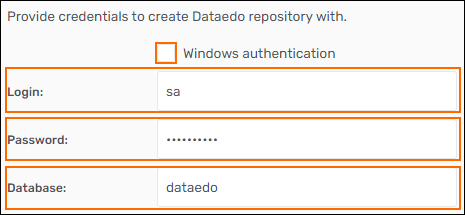
Then choose whether a new login should be created for future connections to the repository.

If you want to create a new login to be created for these connections, leave the Create dedicated user box checked.
If you want to use the same login as specified above, make sure the Create dedicated user box is unchecked.
Note that creating a new login requires either securityadmin role or ALTER ANY LOGIN permission. If you don't have either of them, make sure the box is unchecked.
Now you need to create a login for the first user. You can use an existing SQL Server login by typing its name in and clicking the Use existing login button. The login can also be Active Directory or Local Windows authentication based - in these cases, make sure the relevant checkbox is marked.
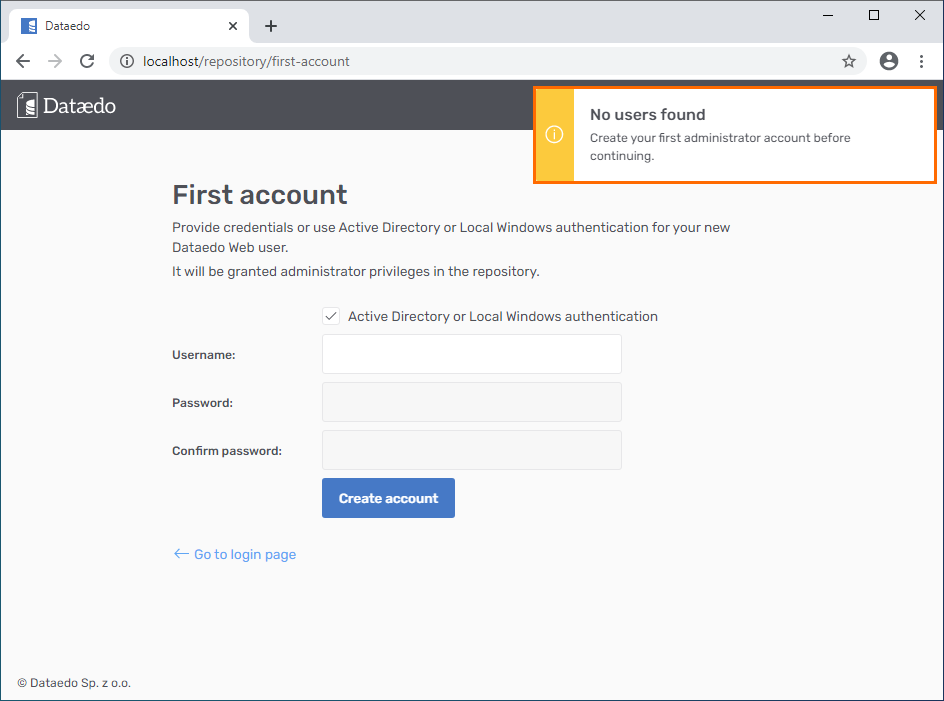
If the new login doesn't exist on the SQL Server, and the user provided in the previous step has either securityadmin role or ALTER ANY LOGIN permission Dataedo Web will create the login. If you don't have the required permissions, you will need to create a user manually. Please contact us in this case.
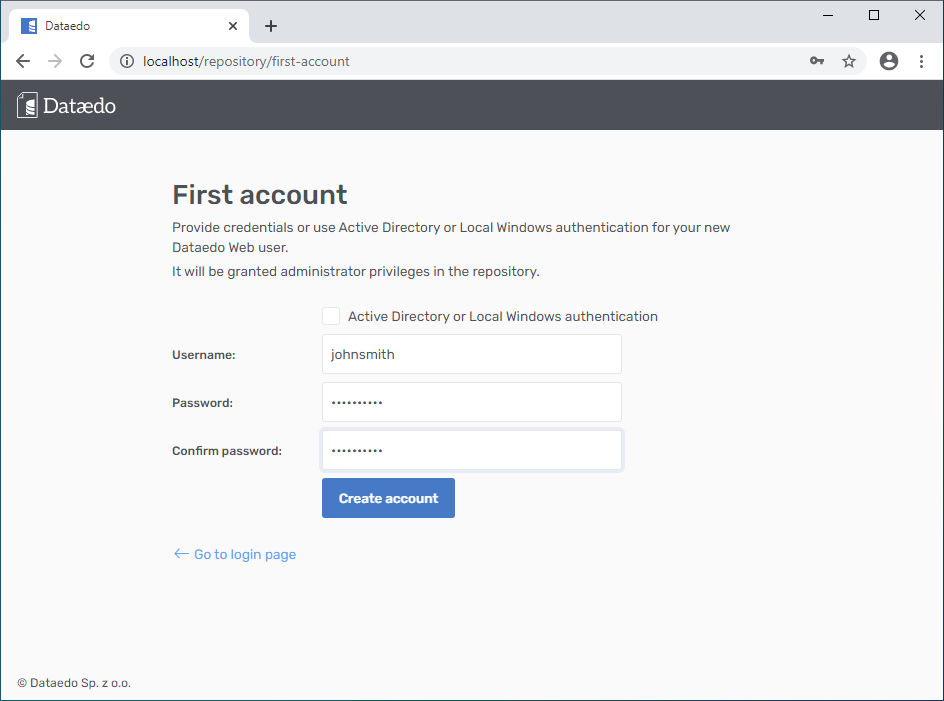
The configuration is now complete and you can log in to the application. Note that the same login data is used by Dataedo Web and Desktop.
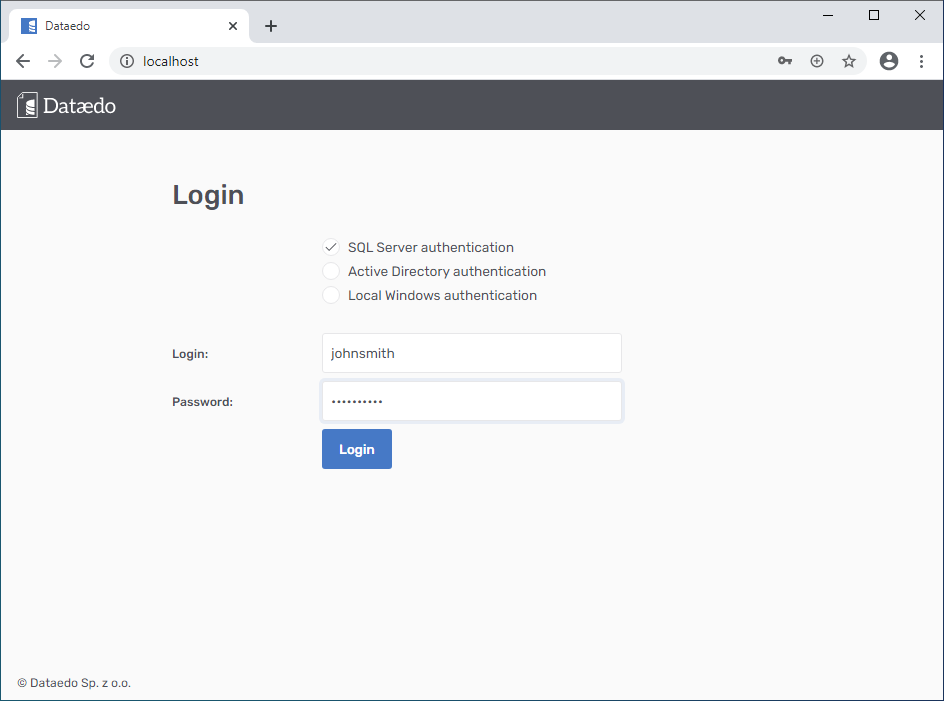
In some cases, you might be asked to enter your license key. If so, paste the entire 8 lines of the key, and click the Use key button.

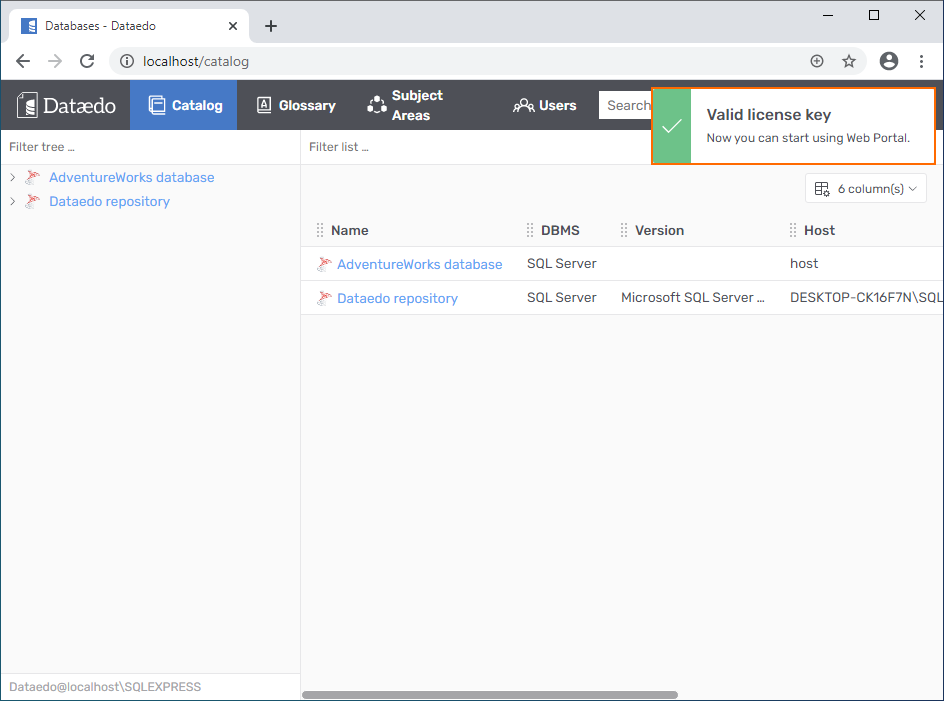
You can now access Dataedo Web.