Dataedo Portal regular installation
This tutorial is a step-by-step guide to installing Dataedo Portal. It is intended for users who have previously used the Dataedo repository, or have access to the database of one of the Server Management Systems like SQL Server or Azure SQL to create the repository on.
Dataedo Portal requires a server repository to run correctly. If you only used a file repository before, check this guide to migrate your file repository, then follow this guide.
First, download the Dataedo Portal installer. Make sure no Windows updates are requiring a restart, since this may complicate the installation process. If possible, restart your machine.
Run the installer with administrator privileges and select the install option.
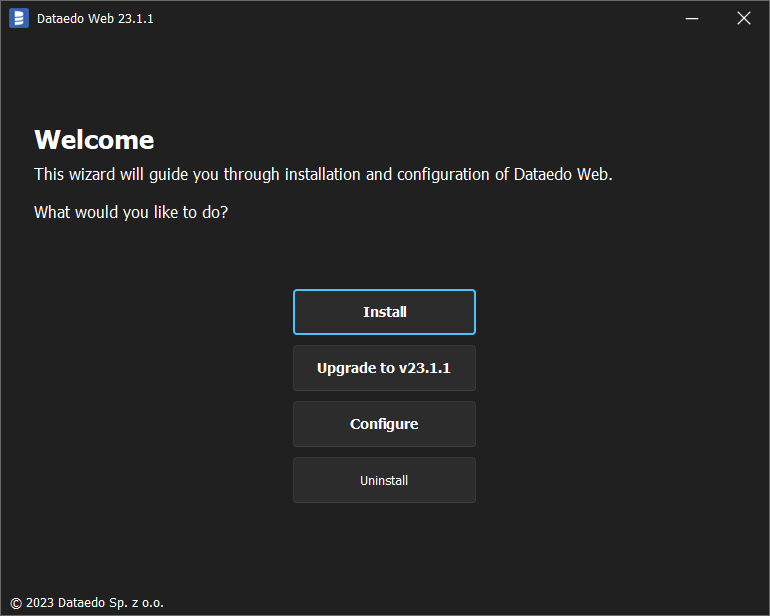
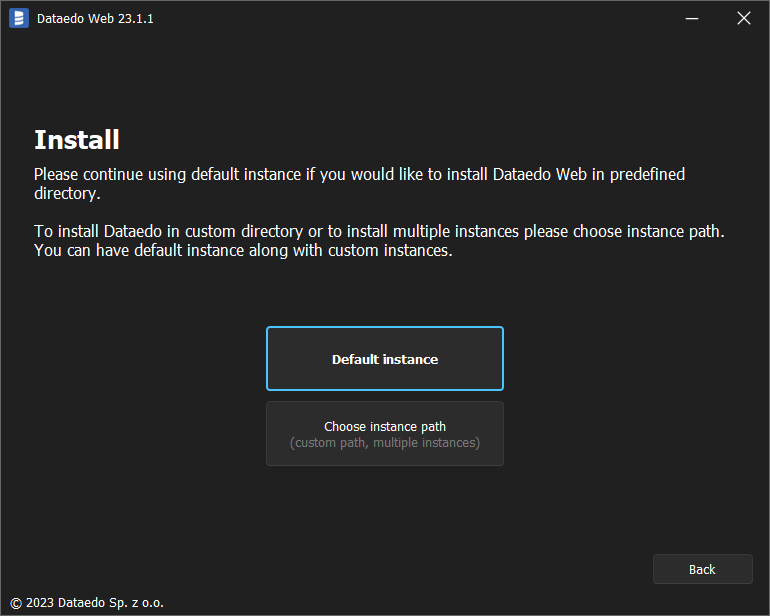
You can install Dataedo in the default location, or choose the path yourself.
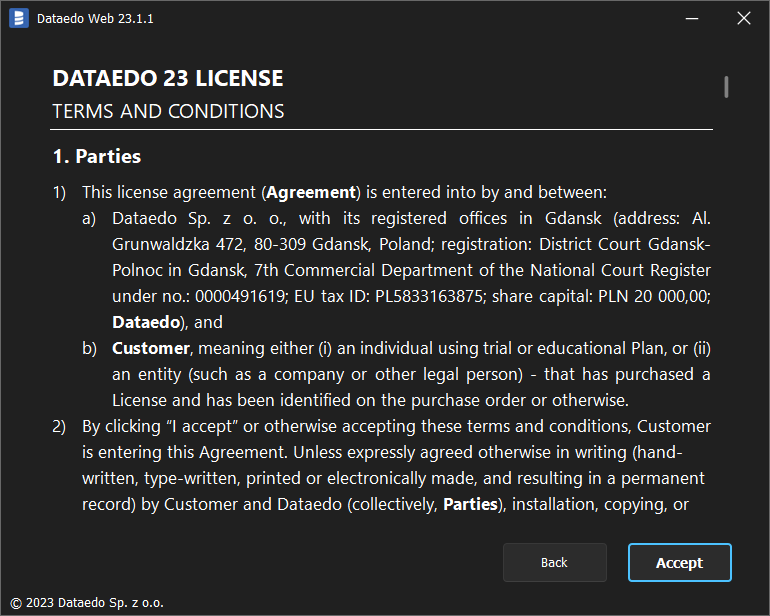
Accept the Dataedo license.
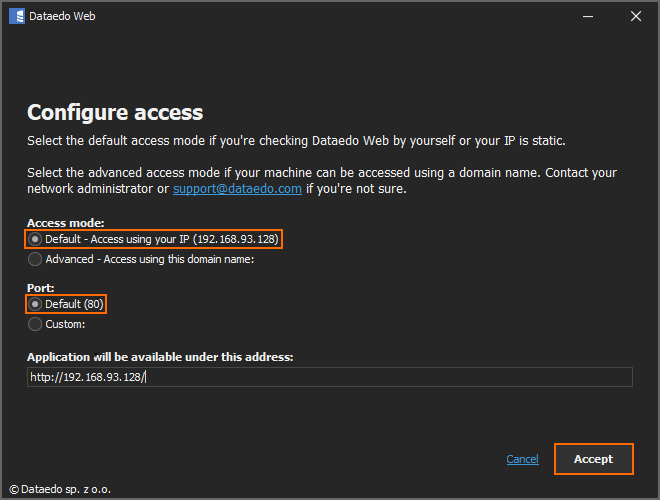
Next, You can configure access to the installed Dataedo Portal.
Default option is appropriate when you're checking Dataedo Portal by yourself (or with static IP).
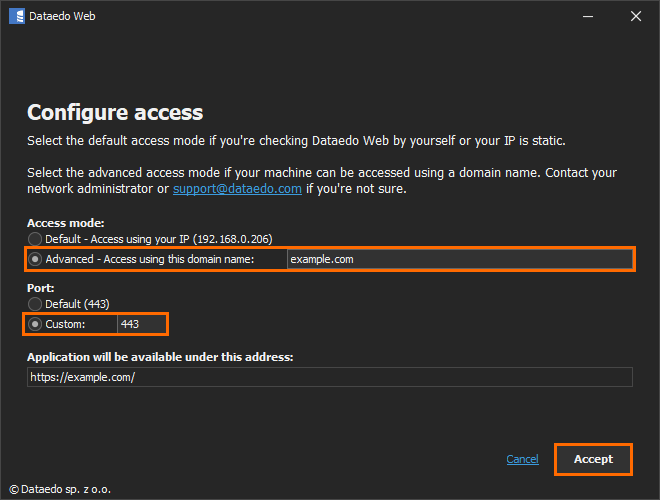
Second, Advanced option is intended when the Dataedo Portal should be accessible using a domain name
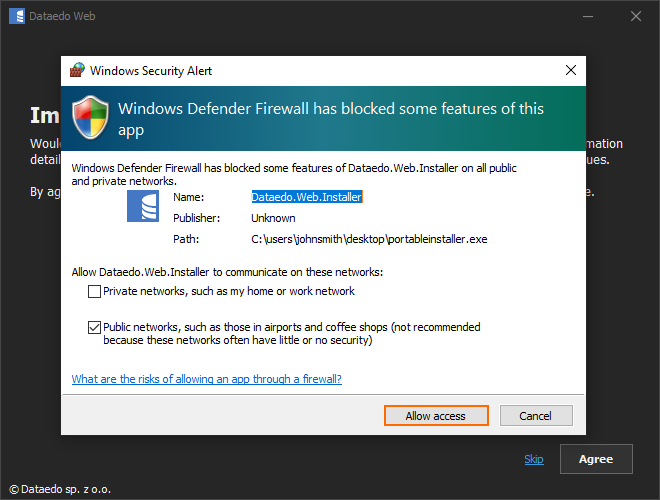
Allow access to functions blocked by Windows Defender Firewall. Click Allow access button.
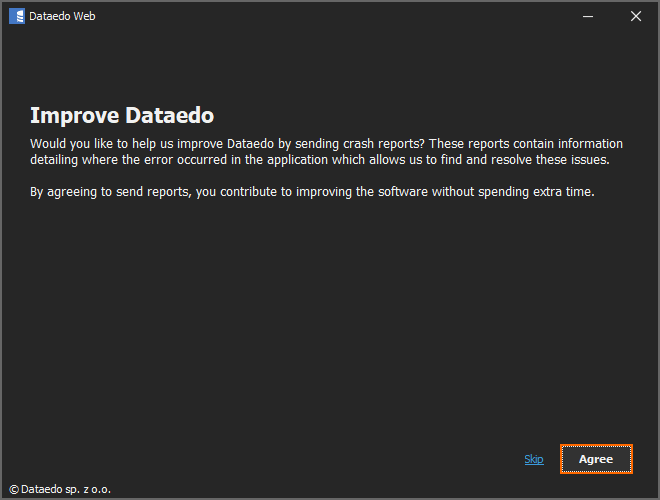
You can help us improve Dataedo by agreeing to send crash reports. To do so, click Agree button.
Choose the I already have an MS SQL Server/Azure SQL instance option.
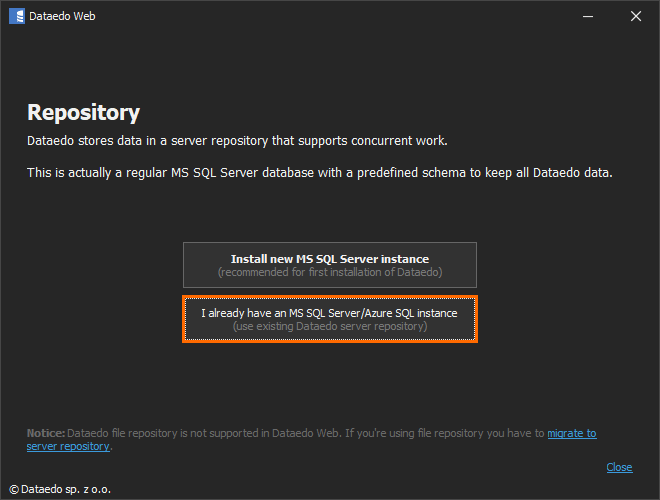
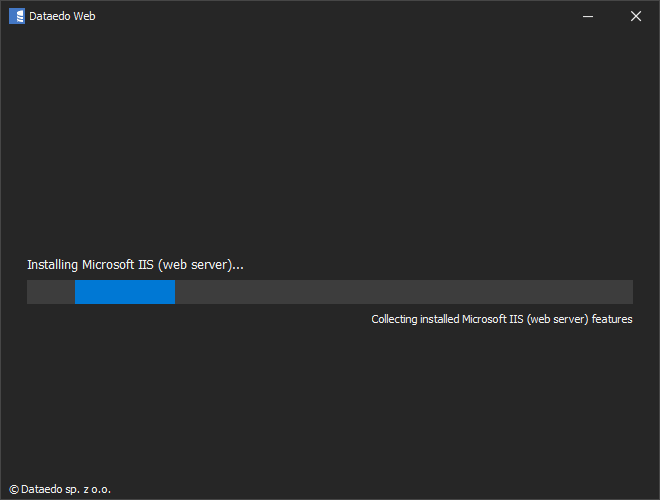
The process of downloading the required packages and installations will start. Make sure that the process will not be interrupted by external applications, as this may result in a failure of the installation.
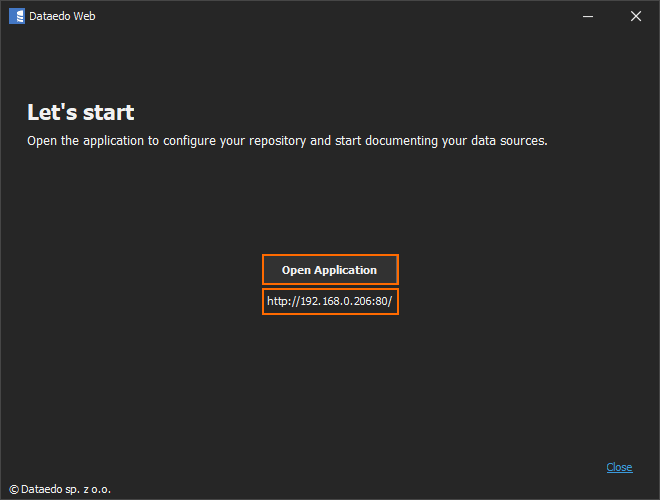
The installation is over. Note down the address to the application, then click Open Application button or paste the address into your browser.