Azure OpenAI models
Follow the steps below to configure the AI Autodocumentation feature in Dataedo with Azure OpenAI models.
Prerequisites
caution
To use the AI Autodocumentation feature with Azure OpenAI, you must generate an API key, deployment name and endpoint from Azure OpenAI. These are required to access the Azure OpenAI API and use the AI models for autodocumentation.
You will also need (Power) Data Steward permissions to the Dataedo Repository to create AI-generated descriptions.
Azure AI Foundry Portal
Go to Azure AI Foundry portal in your Azure OpenAI deployment:

Get endpoint and API key for AzureAI
Go to Home page. Here you can see:
- API key for authorizing connection
- Endpoint of Azure OpenAI Service for which the connection will be established

Get Deployment name
- Open Deployments page
- Choose deployment of model which you want to use for AI autodocumentation. You will need the Name to configure your AI Engine in the Dataedo Portal:

Configure AI autodocumentation in Dataedo
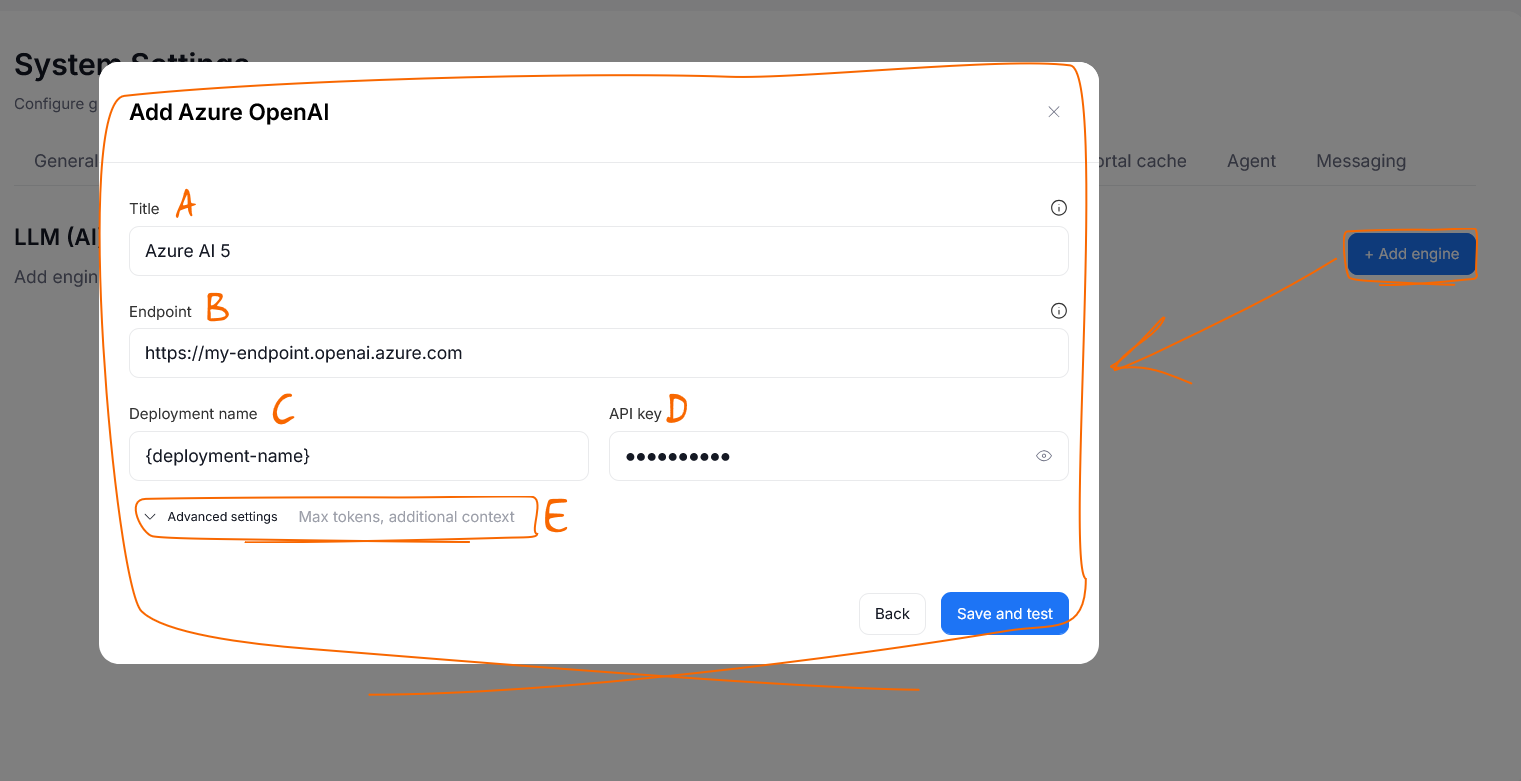
- In Dataedo navigate to Settings > System Settings > LLM (AI) engines.
- Click + Add engine.
- In the New engine window, select Azure OpenAI.
- Fill in the engine details:
- Title [A]: a user-friendly name shown to users when they choose an engine, for example
Azure GPT-5. - Endpoint [B]: enter the endpoint of your Azure OpenAI resource, for example
https://my-resource.openai.azure.com/. - Deployment name [C]: enter the deployment name of the model. Use the deployment name, not the model ID.
- API key [D]: paste the API key from the Azure AI Foundry portal.
- Title [A]: a user-friendly name shown to users when they choose an engine, for example
- (Optional) Expand Advanced settings [E] to change Max tokens (default
4096) or to add Additional context for the prompts. See Add an AI engine for details. - Click Save and test.
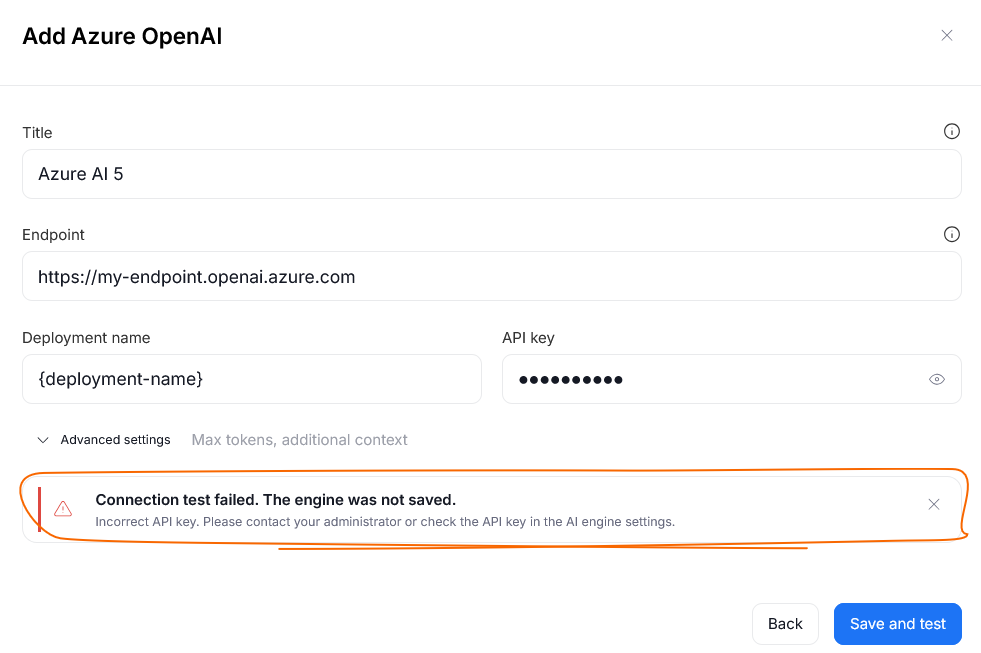
Dataedo Portal sends a short test prompt to Azure OpenAI and saves the engine only if it responds. If the test fails, check the error message, correct the settings, and click Save and test again.