Export to Excel and HTML in Portal
Export requires Dataedo Agent to be set up. This feature is accessible only to users with Edit permissions.
You can export your documentation from Dataedo Portal directly to .xlsx (Excel) or .html (HTML) format. Both formats share the same flow — you choose the file format first, and then configure the scope and content of the export. Read the full instructions and explore the exported file's structure below.
Starting the Export
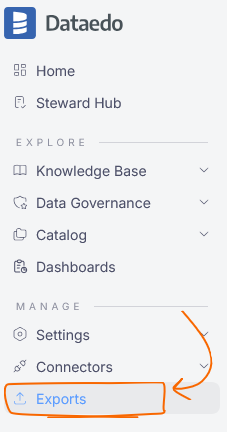
To open the export page, click Exports in the Manage section of the main navigation.
Export Page
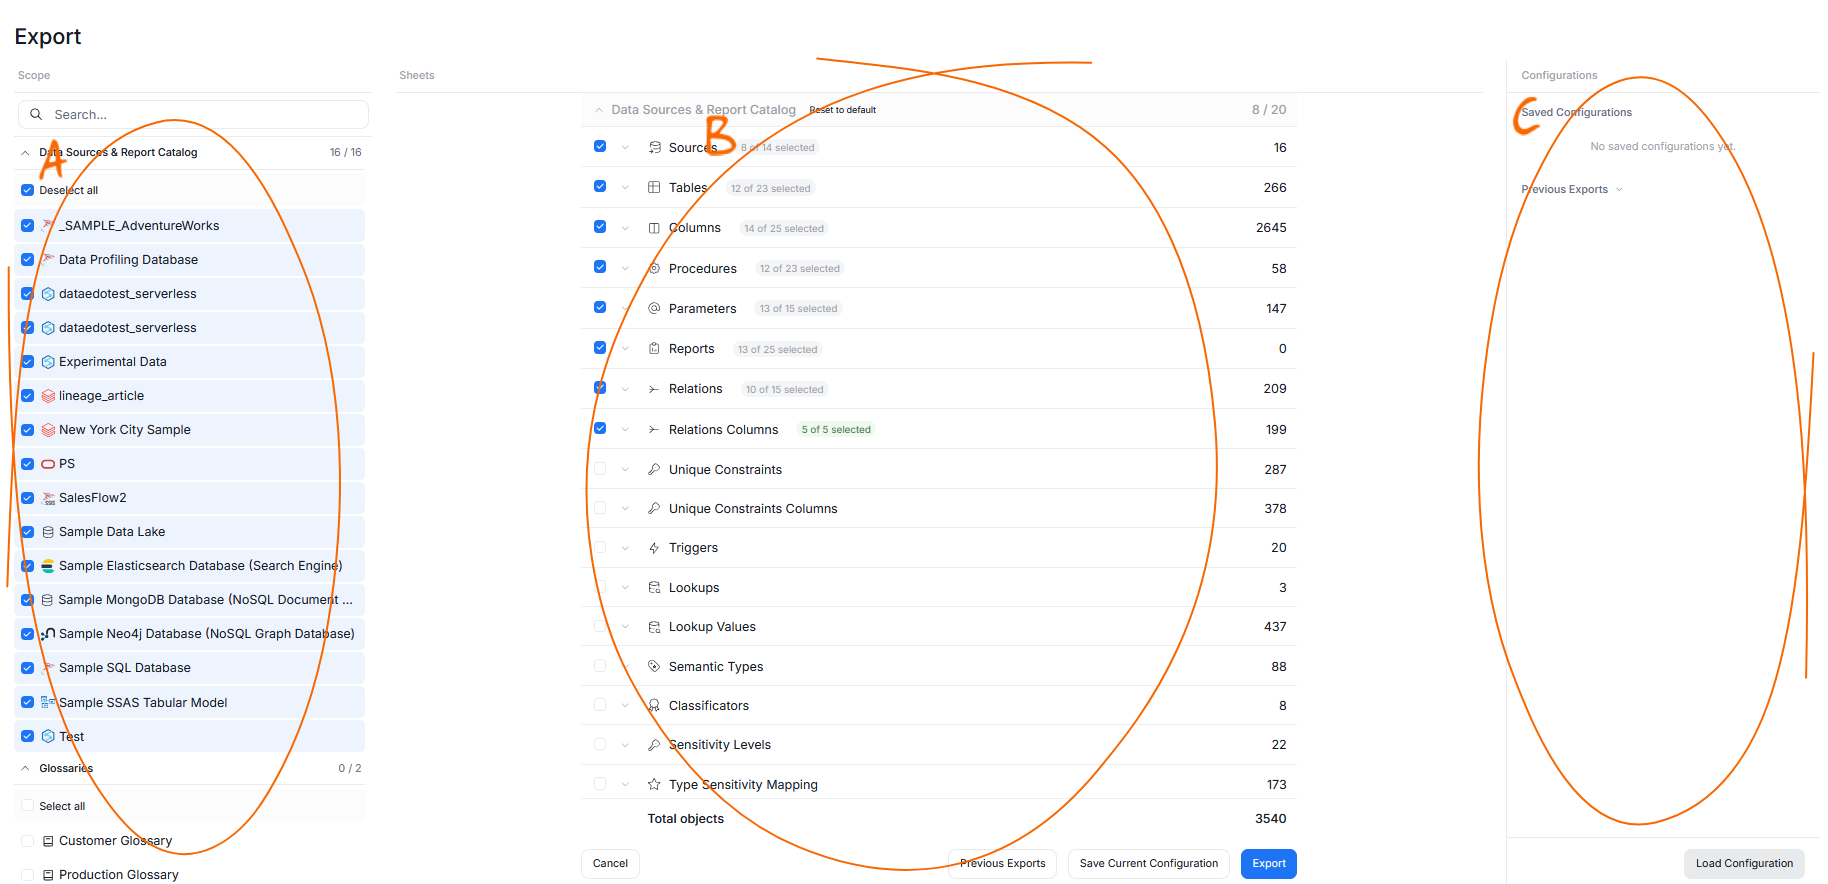
The export page is divided into three sections:
- starting a new export [A]
- saved templates [B]
- downloads [C]
New Export
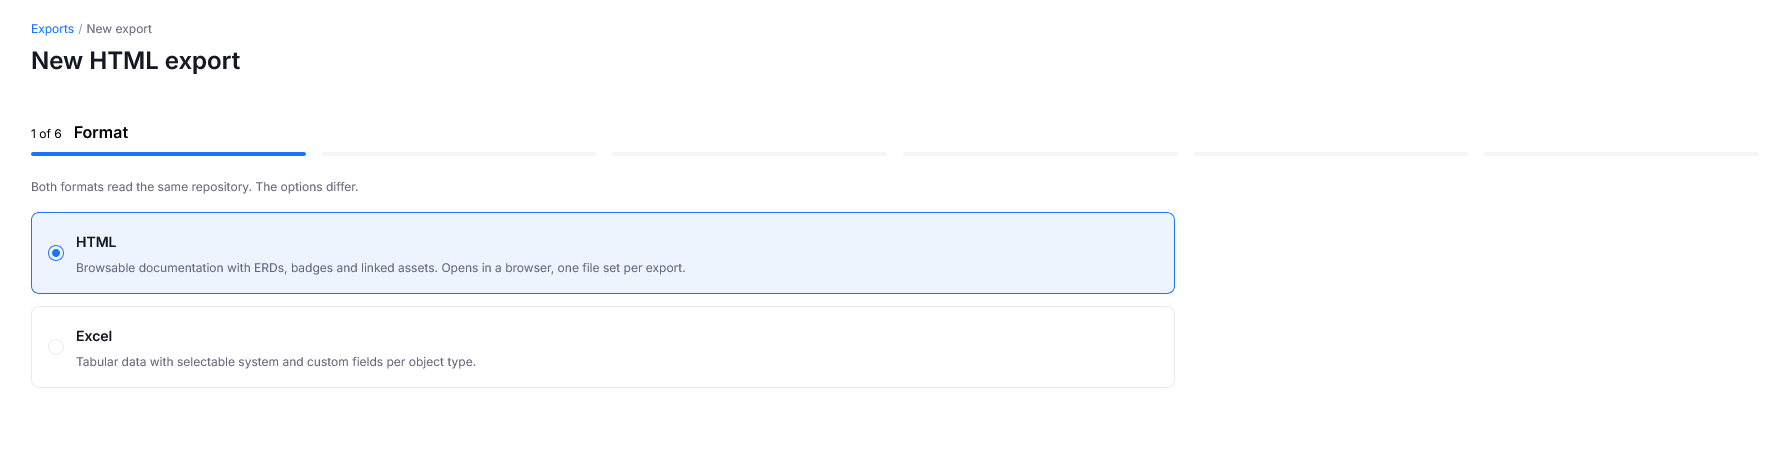
To start a new export, click the New export button.

This opens an export configuration menu. The first thing you have to do is choose your desired export format: Excel or HTML. Read more about each format's limitations and properties here.
Next, you have to define the Scope. This step determines which asset groupings will be included in the final export. By an asset grouping, we mean an object that holds other objects within it. The asset groupings you can choose from are divided into the following categories: Sources, Glossaries, Data Domains, Business Domains, and Data Products.
For each category, you can choose whether you want to include all asset groupings in the category using select/deselect all [A] (for example, all glossaries), or only selected ones via individual checkboxes [B].
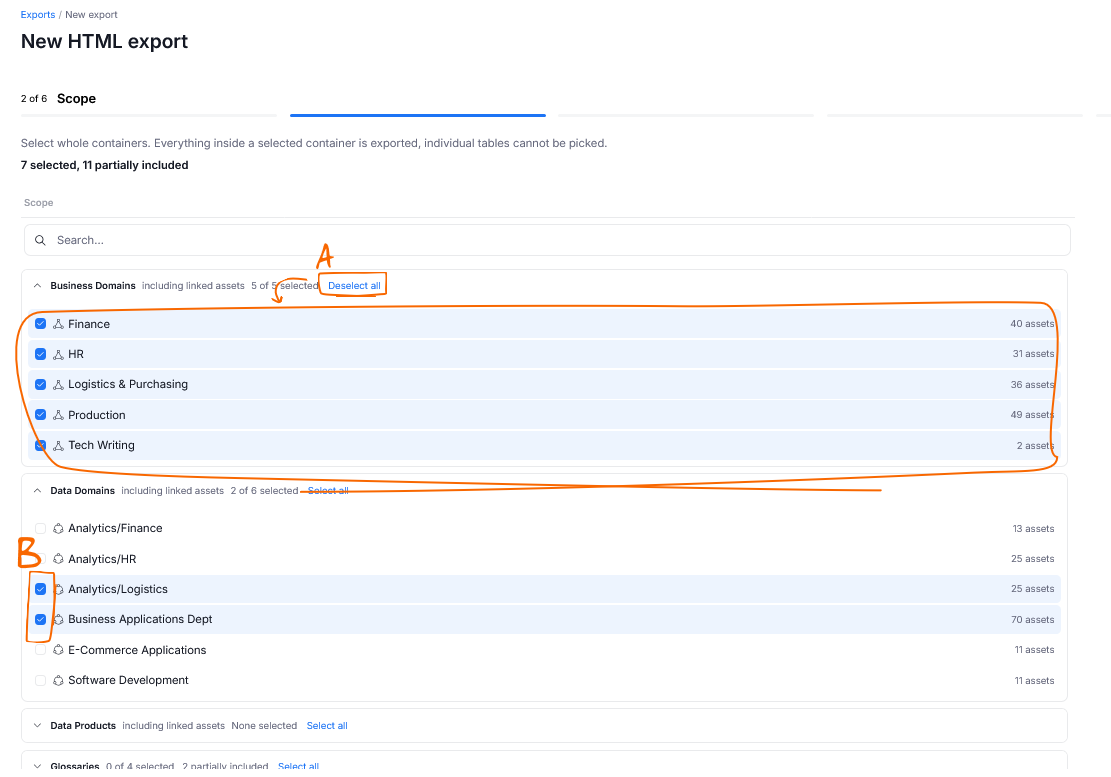
Choosing an asset grouping at this stage does not mean that all of its assets will be exported to your final file. You decide which objects to export only in the next stage — Content options.
The next step depends on the format you chose: Content options for HTML, or Fields for Excel.
Content options (HTML) / Fields (Excel)
The next step lets you choose the objects to export and control what information is preserved in the final file.
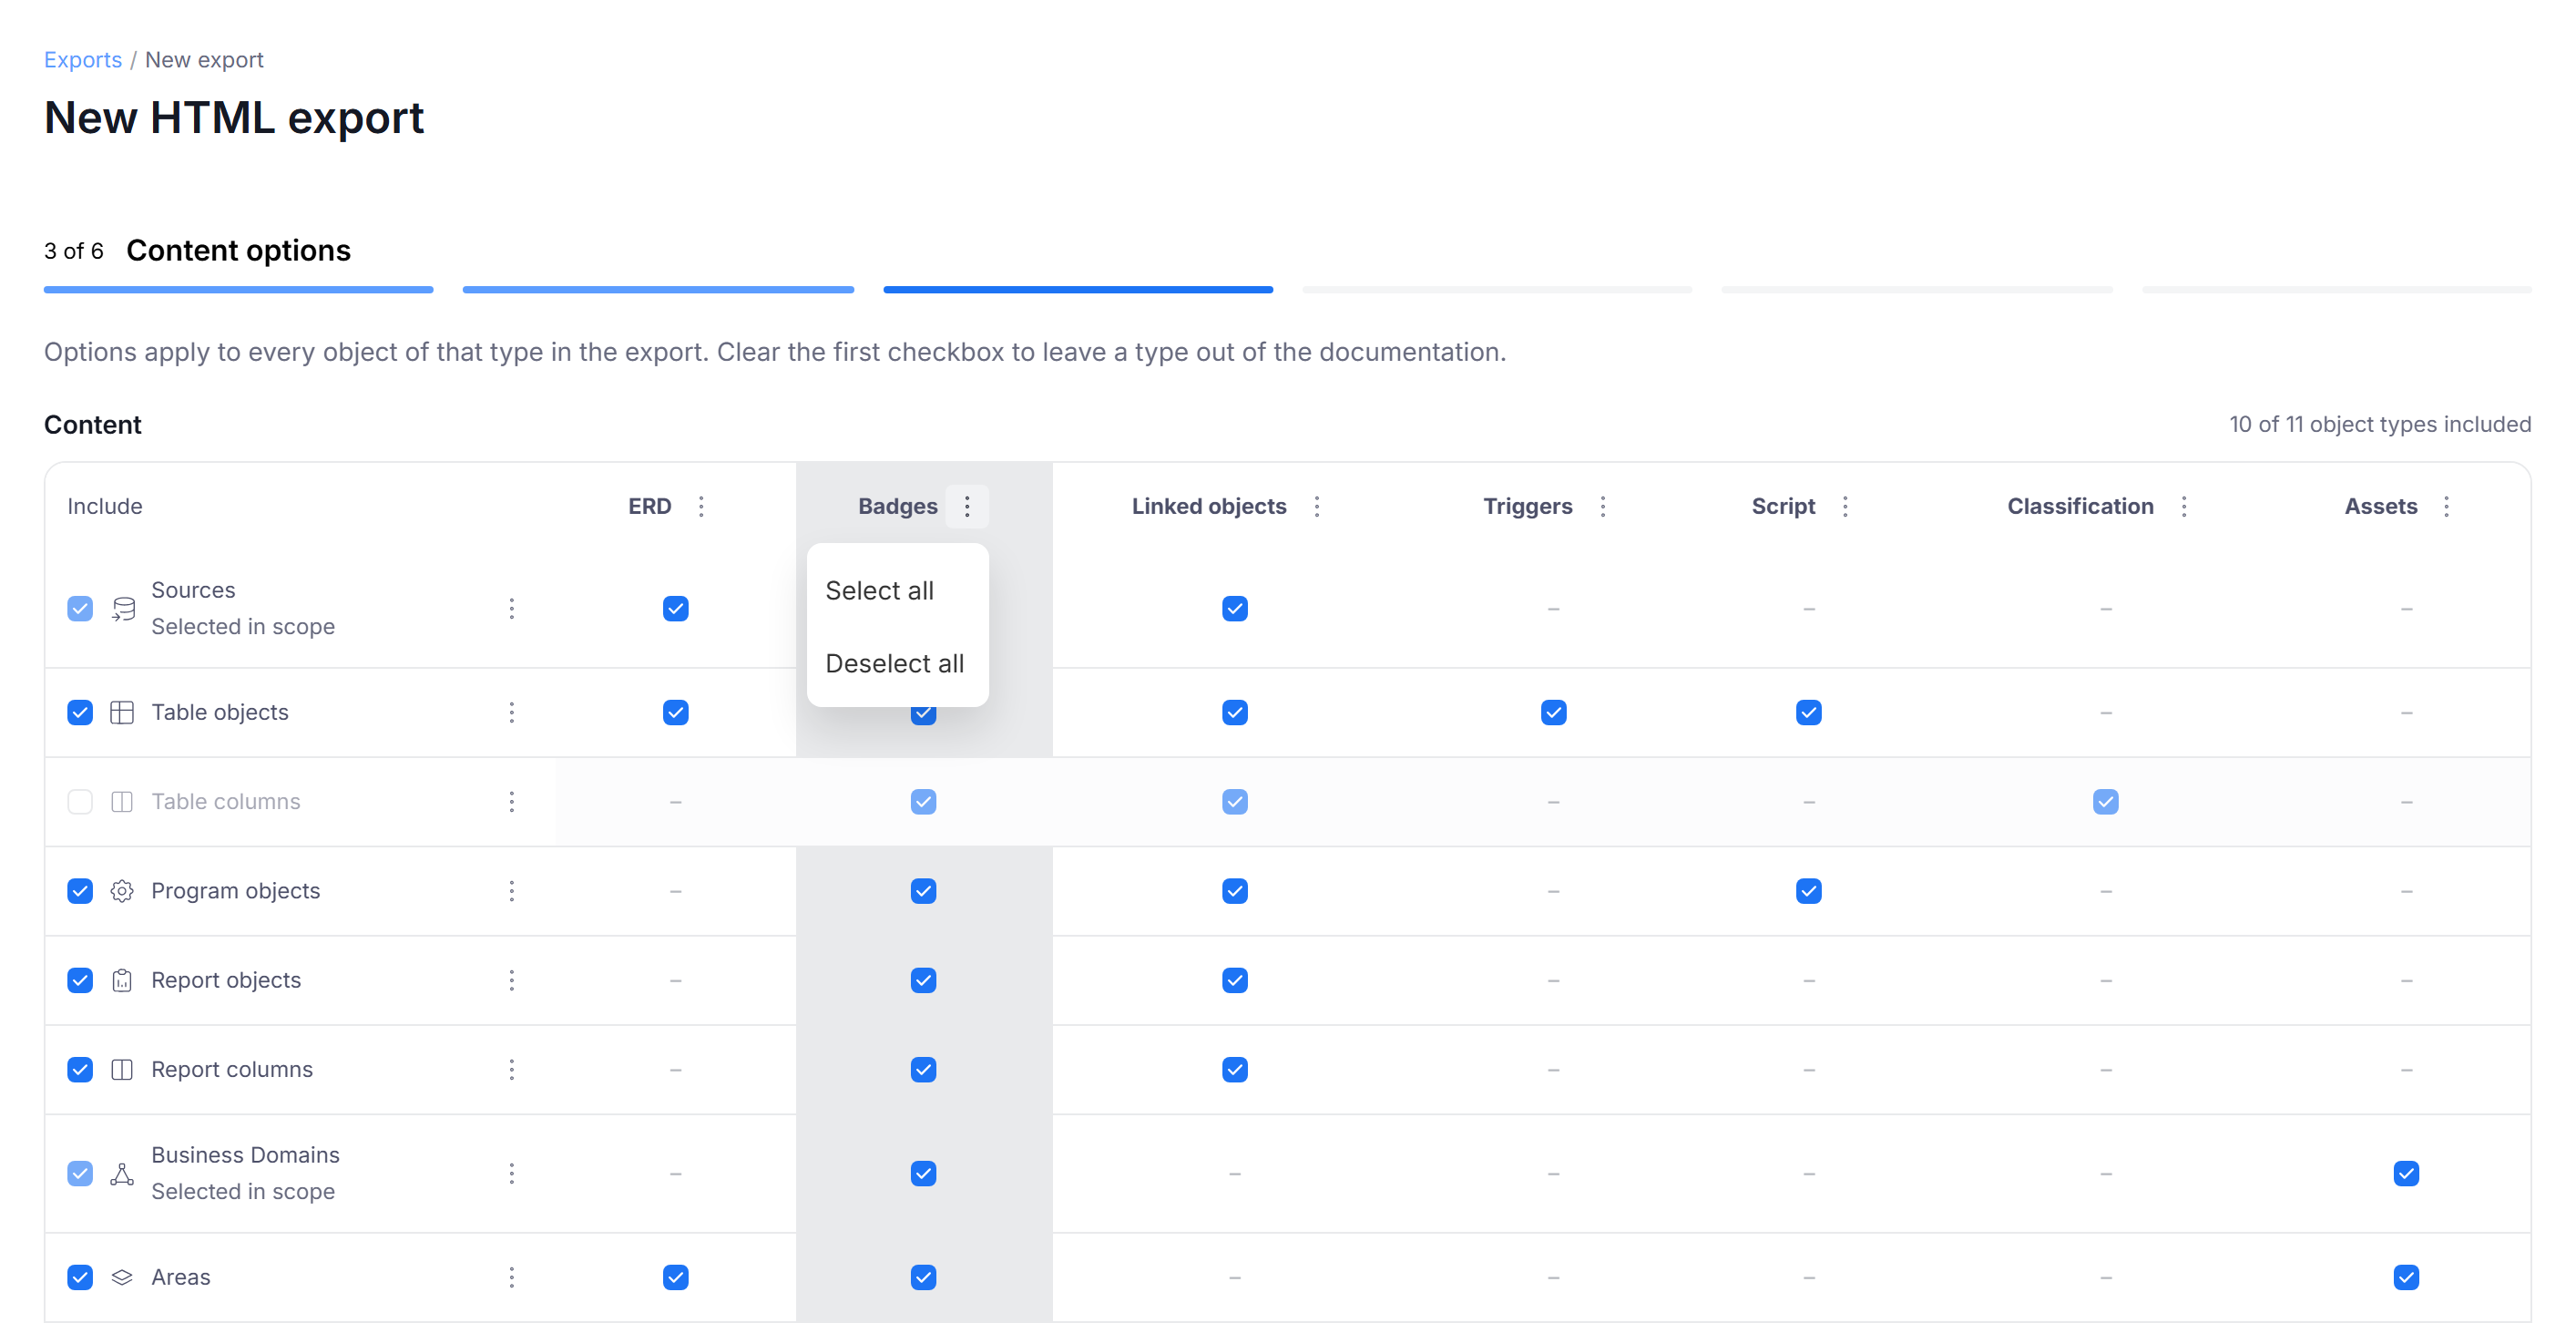
The choices are shown in a grid, with each row corresponding to an object type and each column to an object property. Use the checkbox in the Include column to choose which object types will be exported. For example, if you clear it for Table columns, columns will not appear in the exported file at all. For each included object type, you can select which properties will be exported using the remaining checkboxes.
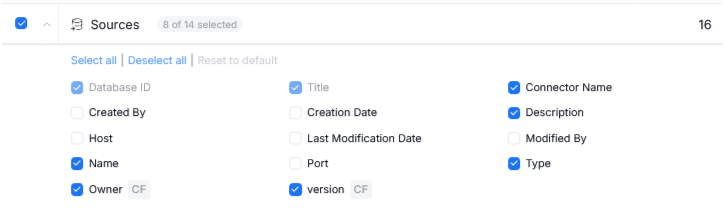
Each of the grid's columns and rows has a three dots menu, which you can use to select or deselect all of its corresponding checkboxes.
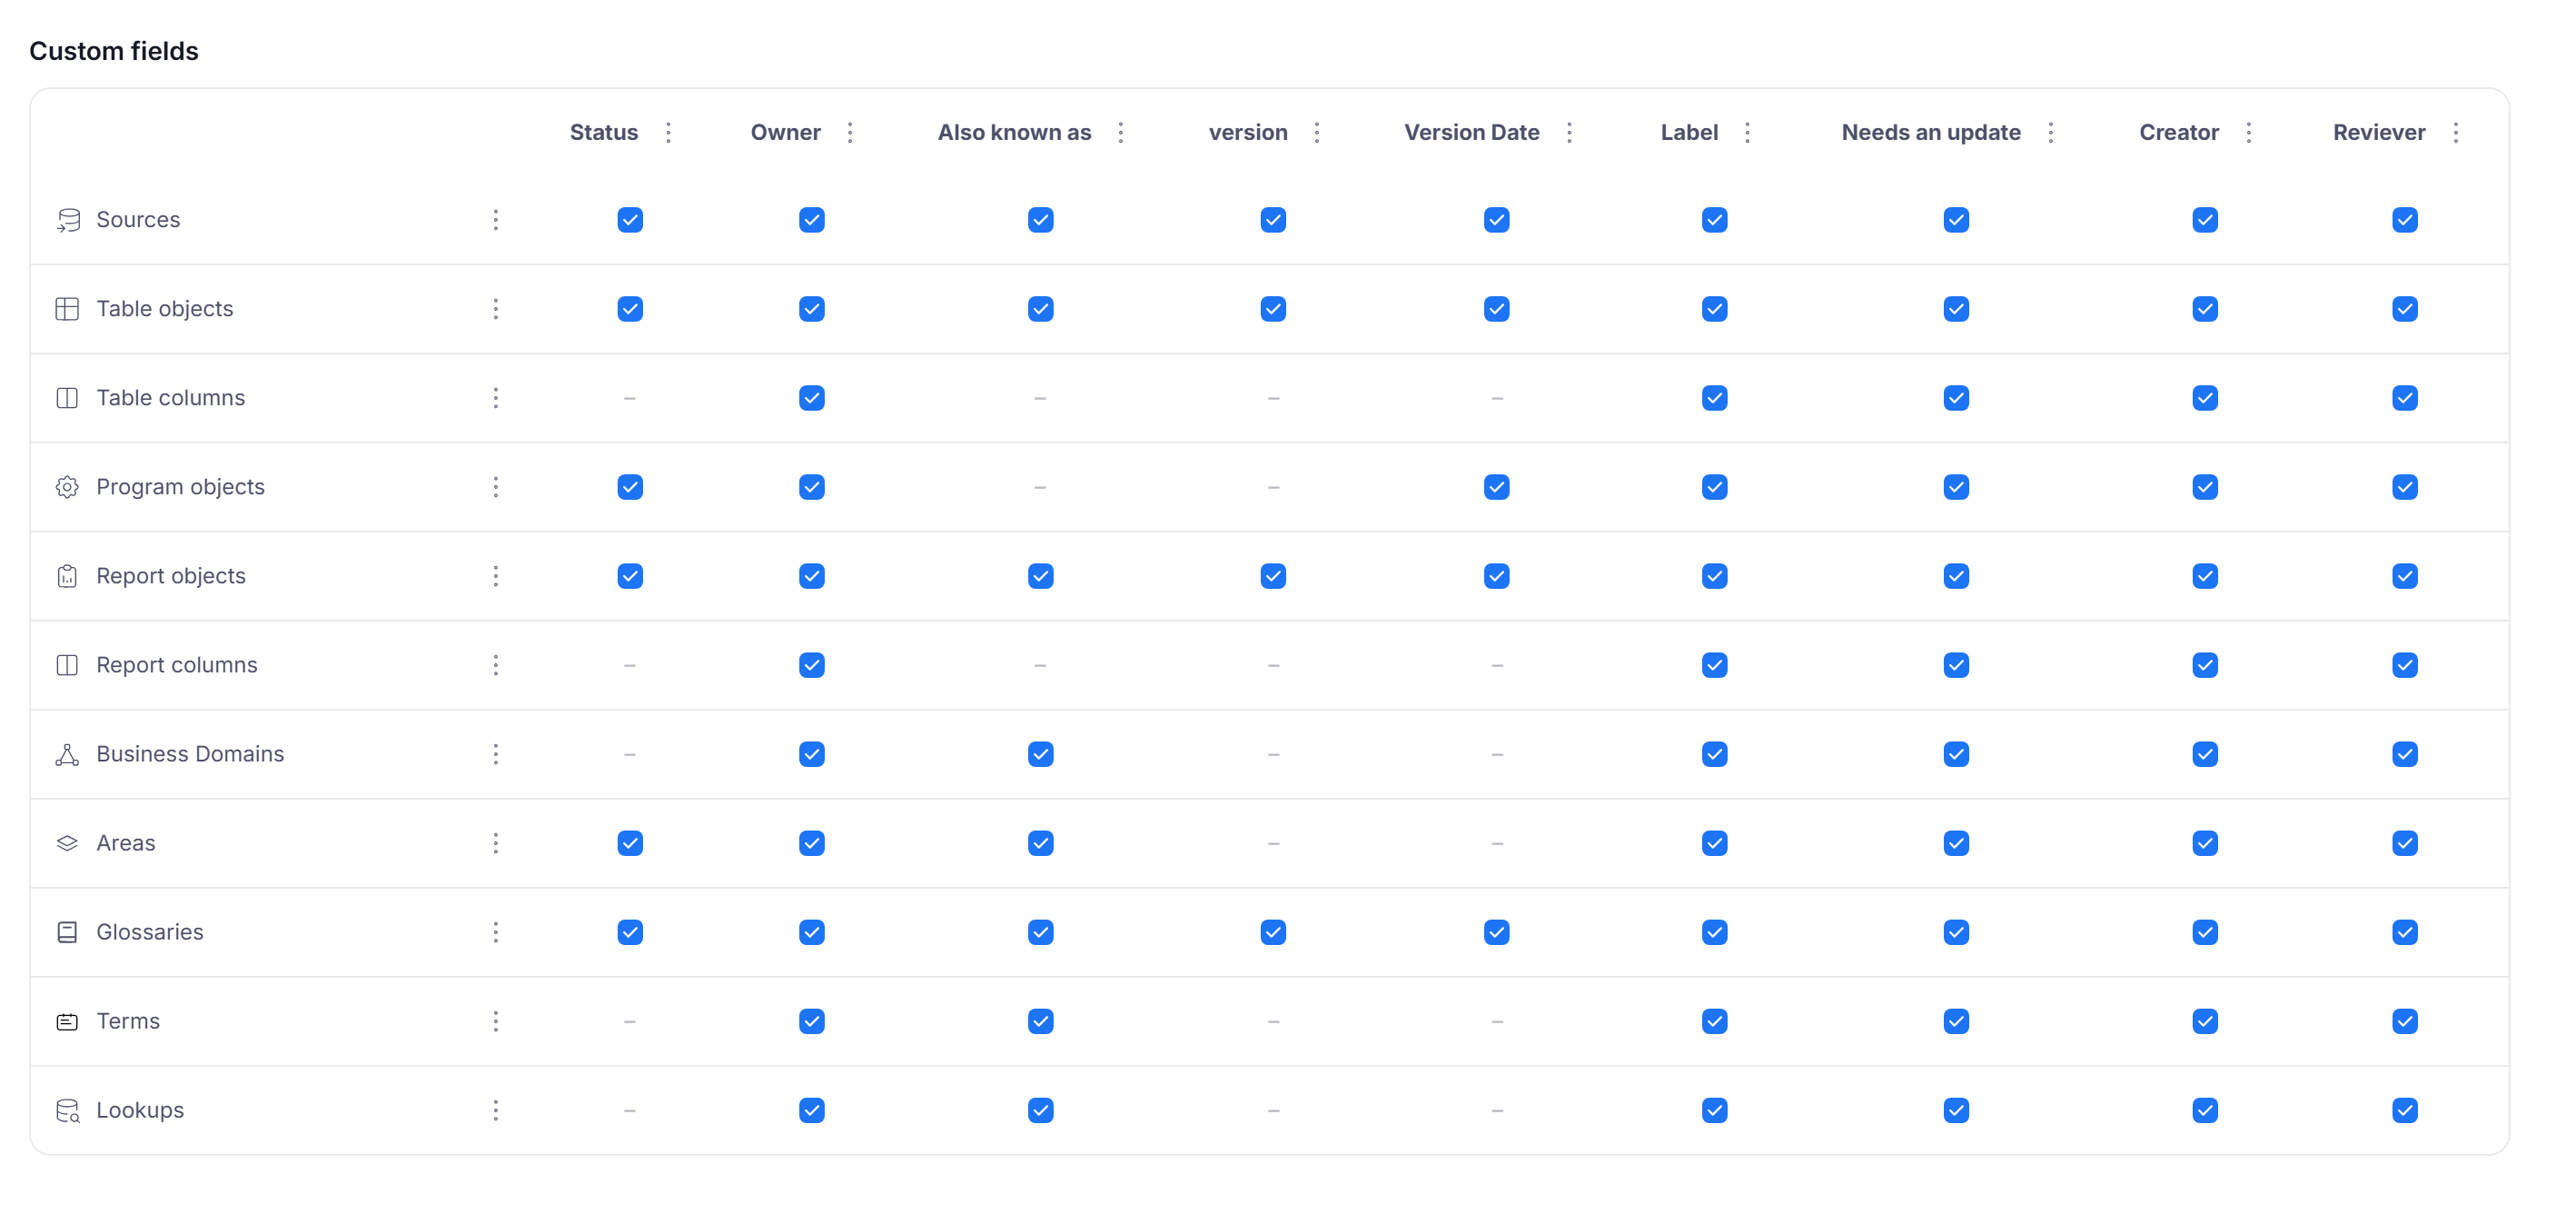
There is also a second grid placed below the content grid. This is the Custom Fields section, where you can decide which Custom Fields will be exported for each object type. It works the same way as the content grid.
HTML-only options
Some types of content cannot be represented in a spreadsheet and are therefore available in the HTML export only:
| Option | Selected by default | Notes |
|---|---|---|
| ERD | Yes | Diagrams of Areas, tables, and other objects that have an ERD |
| Assets | Yes | Assets of Domains, Areas, and Data Products |
| Linked Assets | Yes | |
| Badges | Yes | |
| Data Classification | Yes | |
| Semantic Types | Yes | |
| Triggers | No | The script of each exported trigger is exported as well |
| Relationships | No | |
| Script | No | Scripts of procedures, functions, and other objects that store code |
| Profiling | No | Current profiling results only — profiling history is not exported |
HTML export also has an extra step — Global options. There, you can add introduction text that will be displayed on the start page of your exported documentation, and choose to anonymize users.
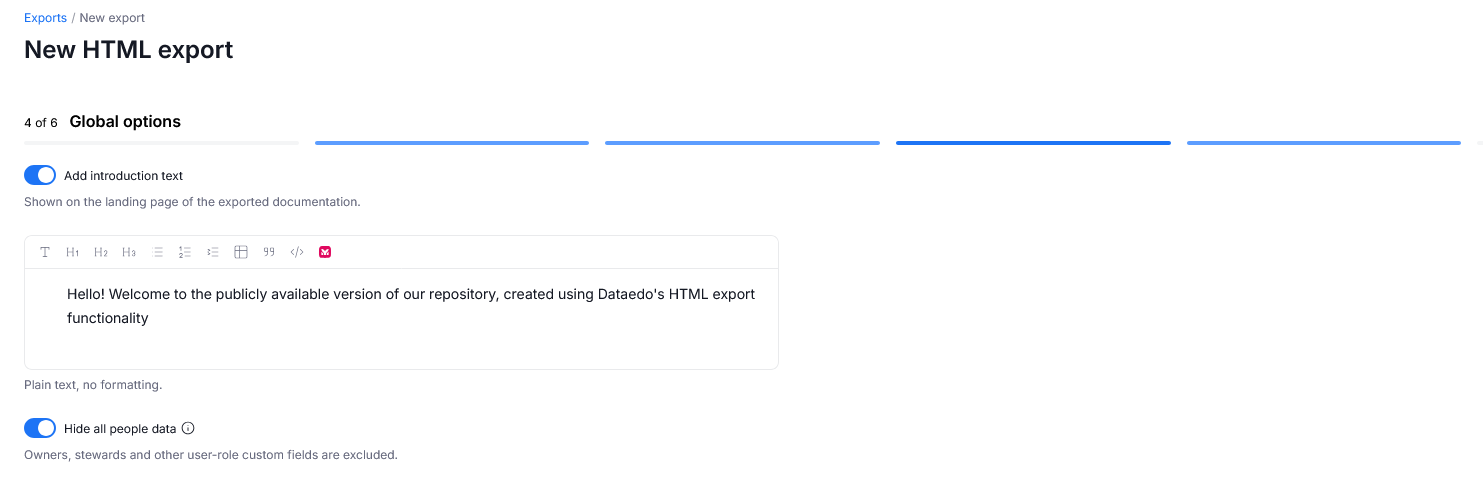
Anonymizing users automatically removes user badges and user Custom Fields from the export.
Save configuration
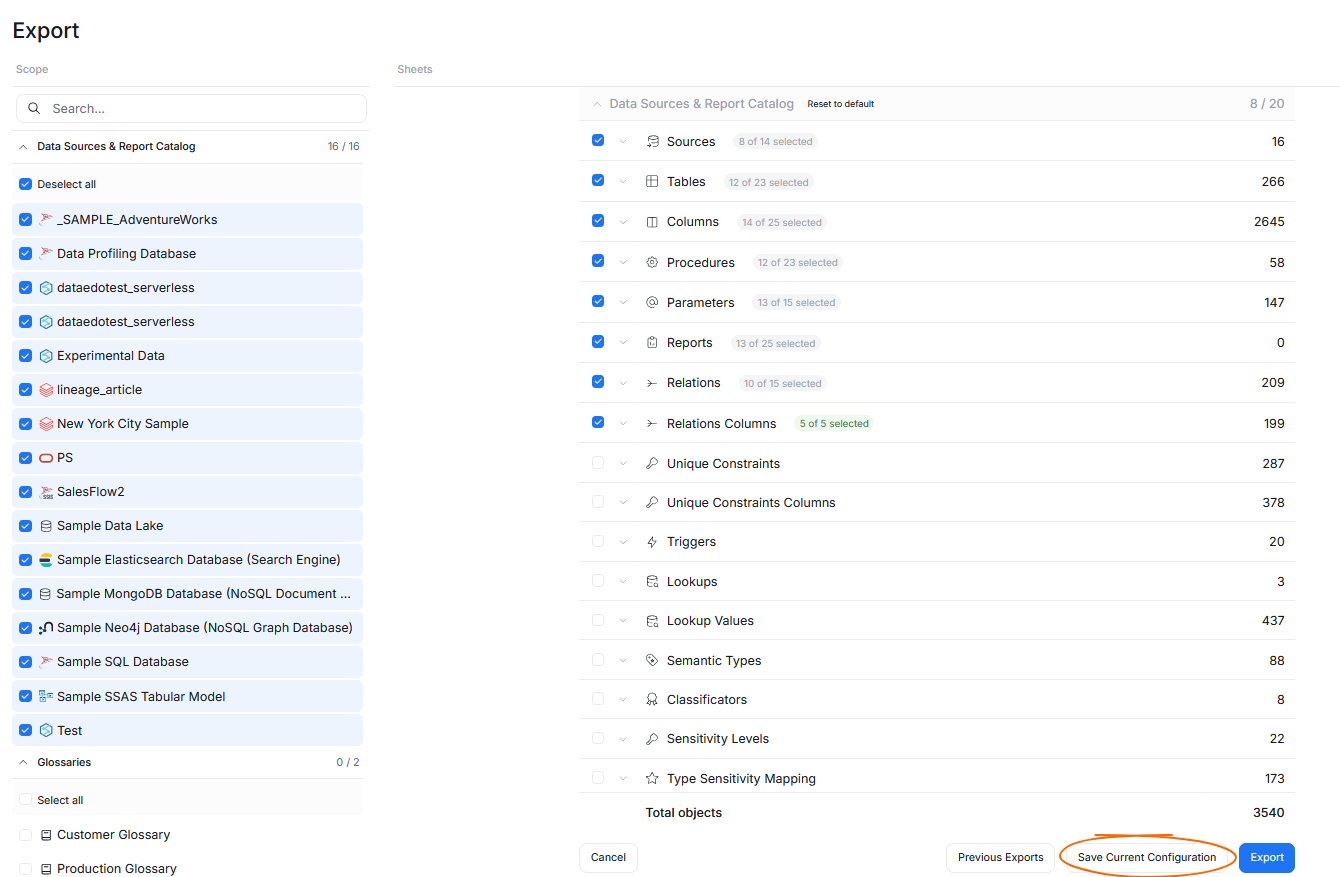
You might want to reuse a configuration for a later export — for example, if you want regular exports of just your Data Products or of documentation related to a specific data source only.
To do so, after you set up the initial export configuration — scope, content options, and optional HTML preferences — you will see a separate step where you can save the export settings as a template. You can also name your template so that it is easily identifiable.
Summary
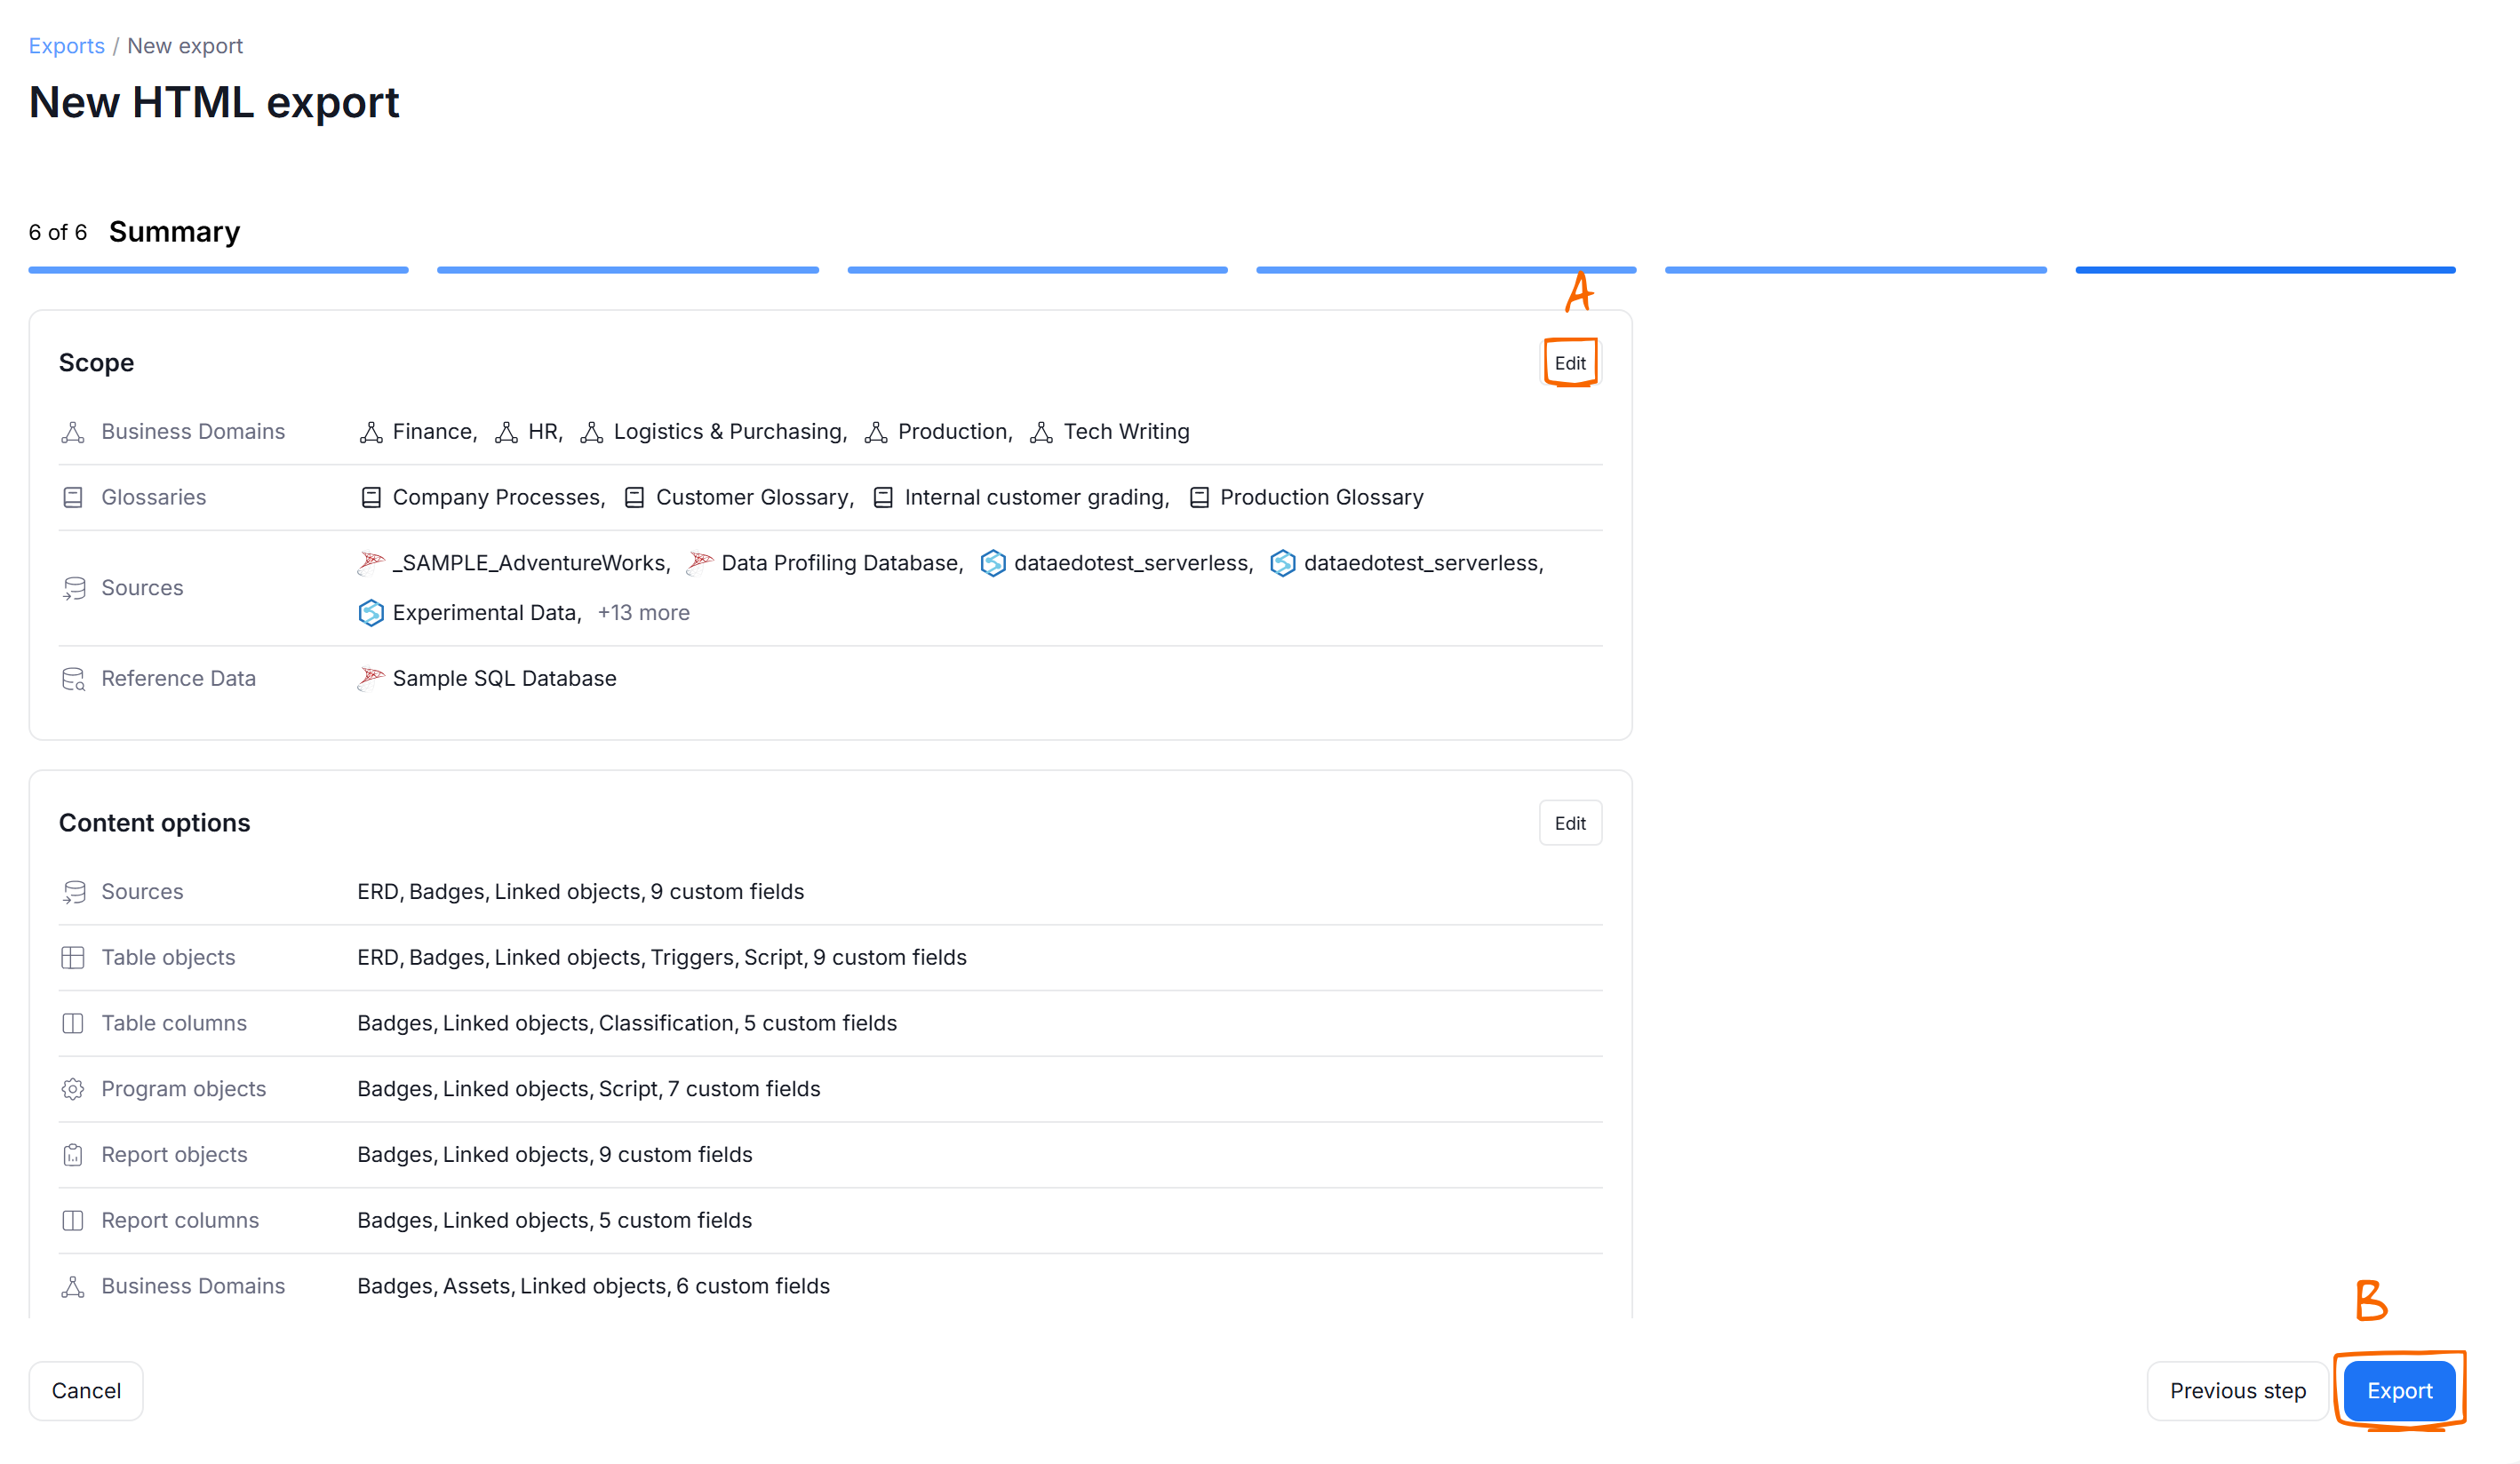
After you go through all the steps, the last screen will show you a summary of all your export settings. You can use it to confirm that everything is correct and quickly edit [A] any of the settings if necessary.
After you confirm everything is okay, click the Export [B] button to start the export.
Once the export is confirmed, Dataedo Agent will start generating the file in the background. You can leave the page. When the export is done, you will receive a notification via email or in-app, depending on your notification configuration.
Saved templates
The Saved templates section of the export page lists the templates you saved in the Save as template step. Saved templates are shared with all users who can export.
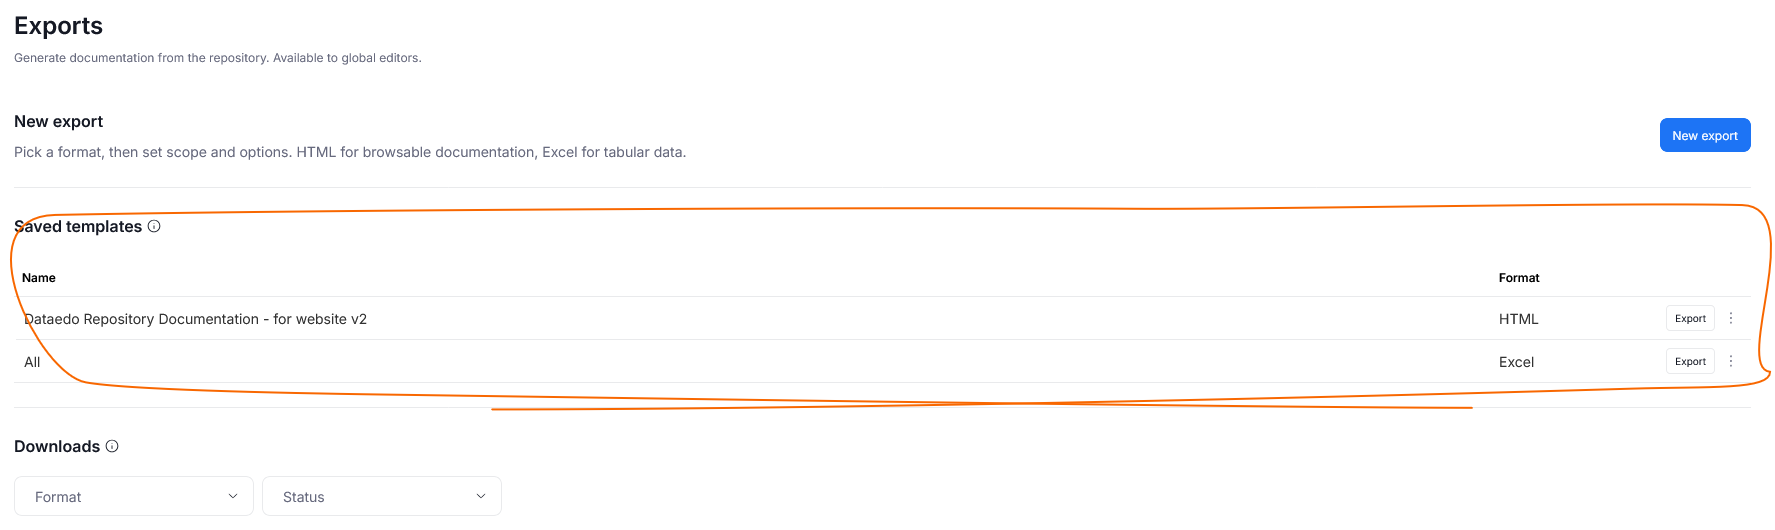
To run a saved template, click the Export button next to it. The export starts immediately with the saved settings.

Each saved template also has a three dots menu, where you can:
- View template — preview the template's format, scope and options
- Edit — change the template, using the same steps as when configuring a new export
- Delete — permanently delete the template

In the template preview, you can also click Export again to run the template, or Edit a copy to start a new export based on it.
Downloads
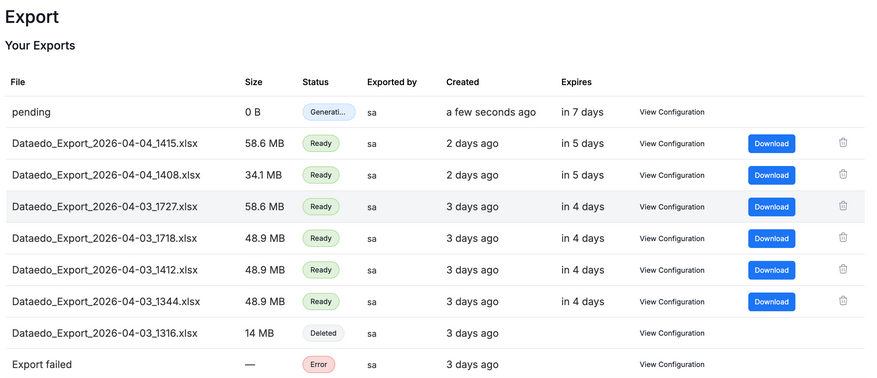
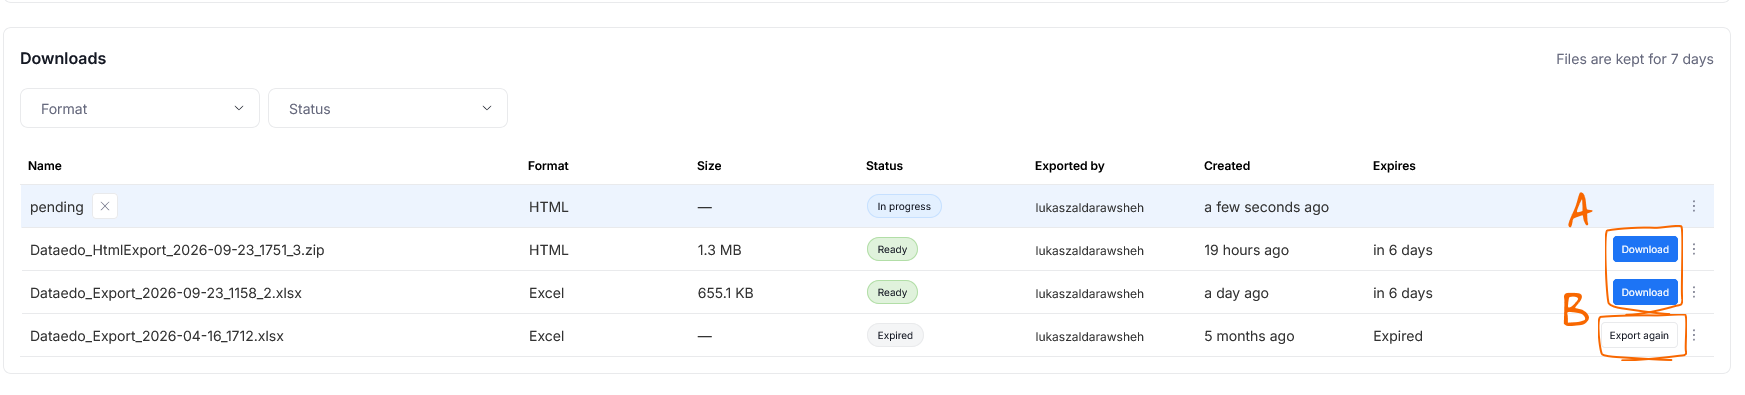
The Downloads section lets you track both your current and past exports. You can filter the list by Format and Status.
Each export has one of the following statuses:
- Queued — the export is waiting to be started by Dataedo Agent
- In progress — the file is being generated
- Ready — the file is ready for download
- Failed — the file could not be generated. Click the status to see the error details.
- Canceled — the export was canceled
- Expired — the file is no longer available. Exported files are kept for 7 days.
- Deleted — the file was deleted by a user
You can Download [A] a ready file, Export again [B] an expired one, or Retry a failed export.
The three dots menu next to each export lets you:
- View template — preview the settings the export was run with
- Open in Scheduler Calendar — open the export's run in the Scheduler's Calendar
- Delete — permanently delete the exported file. The export stays on the list with the Deleted status.
The exported file
Exported files behave differently, depending on the export format you chose.
Excel file
The resulting .xlsx file will contain:
- one summary sheet
- up to 36 sheets, each containing a different type of exported object (depending on your content options configuration)
Additionally, the sheets will contain cross-references (for example, clicking "source" in the "Tables" sheet will take you to the "Sources" sheet) and interactive filters, making it easier to inspect your data.
HTML file
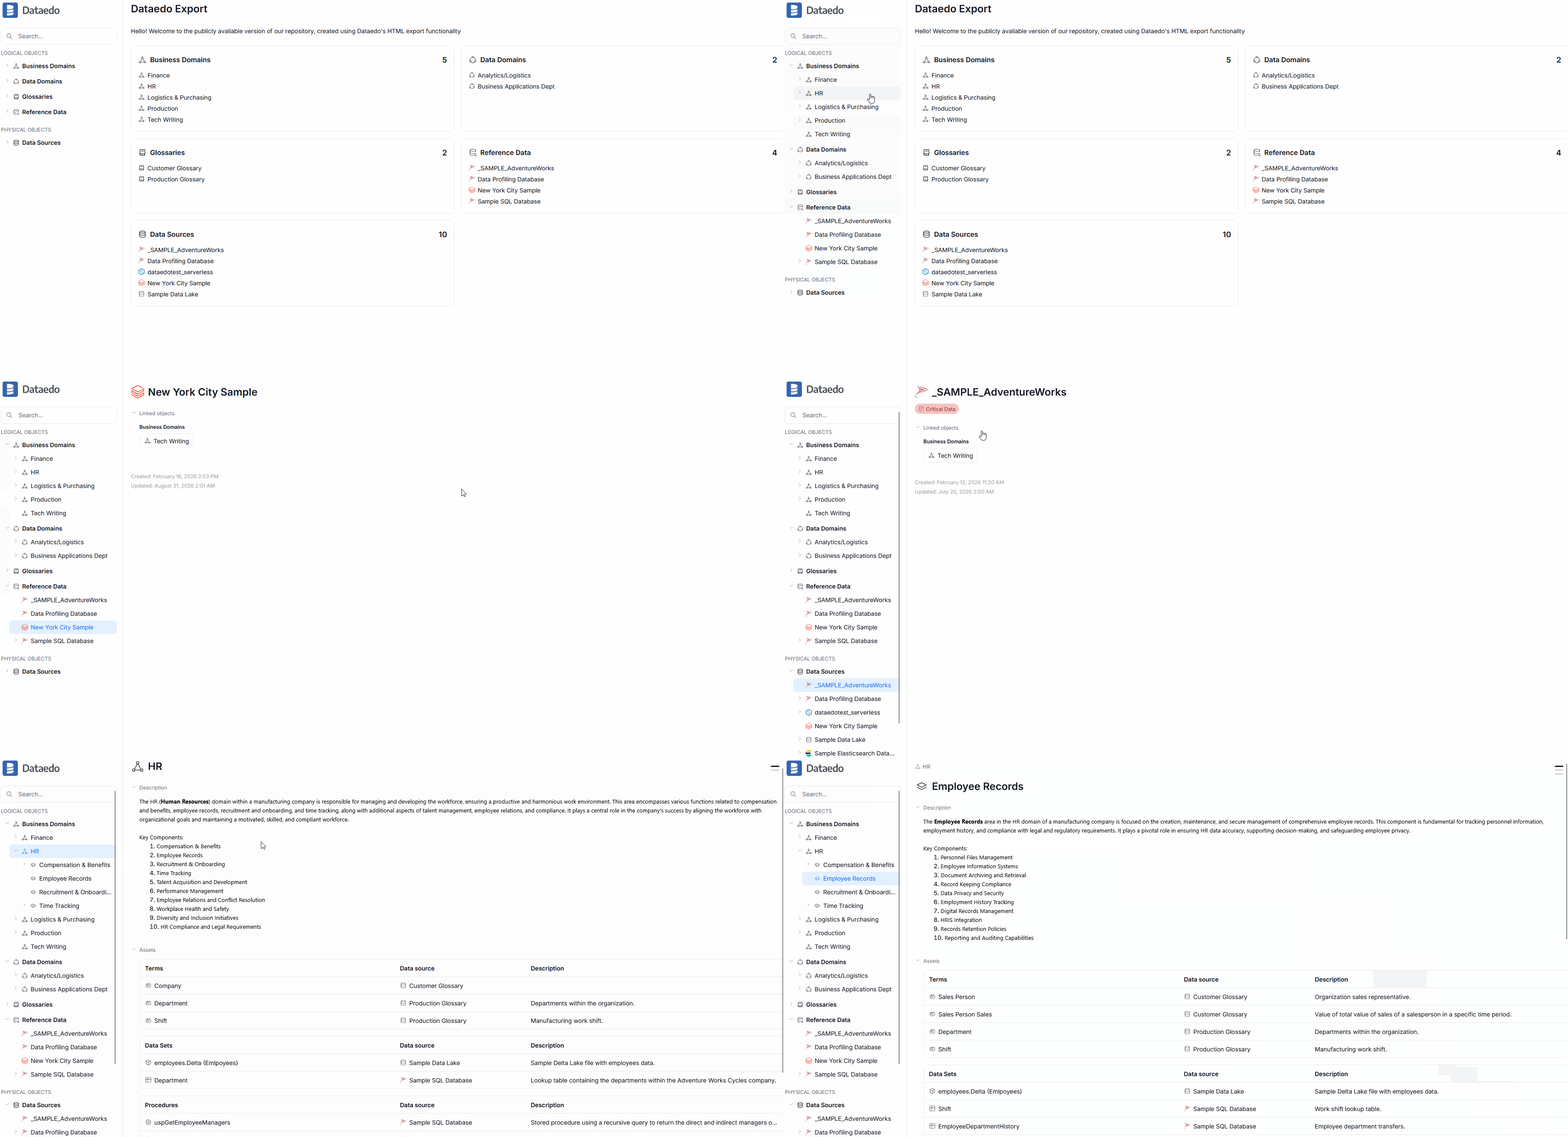
The resulting .html file is a standalone, read-only copy of the exported part of your documentation, which looks and navigates like a slice of Dataedo Portal.