Configure Dataedo with an Azure OAuth2 identity provider
This guide explains how to set up Dataedo to authenticate using an OAuth2 identity provider (IdP).
Initial setup in the Azure portal
Create an app registration
-
Open the Azure Portal.
-
Navigate to App registrations and select New registration.

-
Enter a name for the application (e.g.,
Dataedo Portal).
-
Specify who can use this authentication method, based on your organization’s requirements.

-
In the Redirect URI section, select Web and enter the Dataedo Portal address followed by the appropriate endpoint:
- Docker setup:
api/oauth2/authenticate/azureAD
Example:https://your-dataedo-portal.address/api/oauth2/authenticate/azureAD - IIS setup:
api/api/oauth2/authenticate/azureAD
Example:https://your-dataedo-portal.address/api/api/oauth2/authenticate/azureAD
- Docker setup:
-
Click Register to complete the registration.
 useful tip
If you're not sure about your setup, reach out to our support team.
Save Application and Tenant IDs
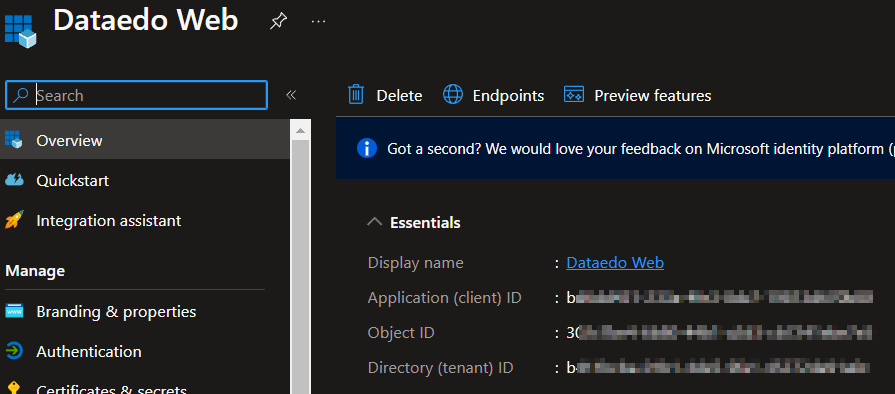
After registration, note the Application (client) ID. If you set the app for single-tenant use, also save the Directory (tenant) ID.

Create a client secret
-
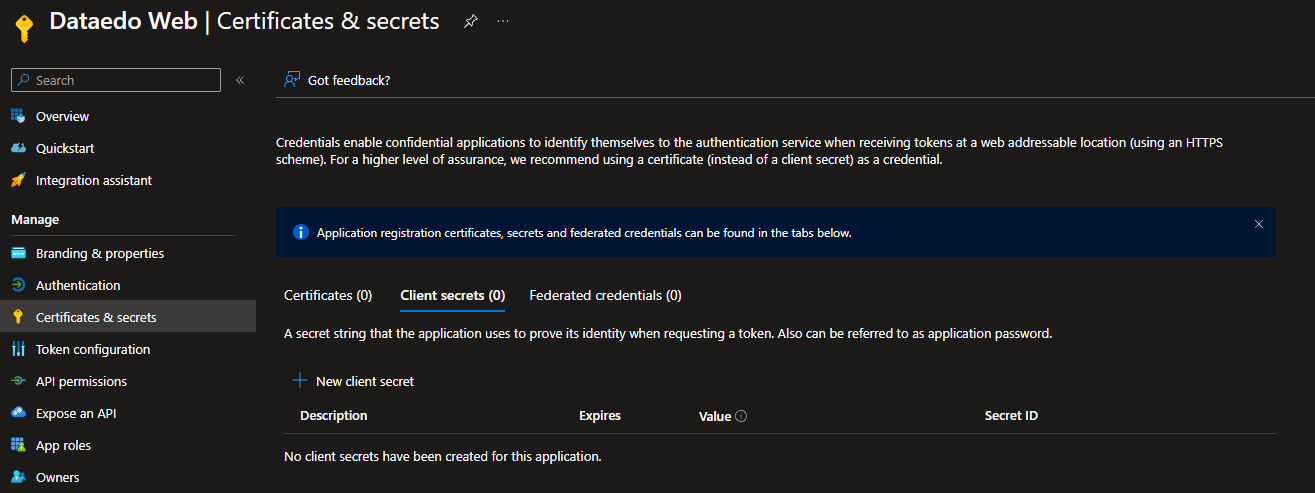
Open the Certificates & secrets tab and click New client secret.

-
Add a description, select the expiration period, and click Add.

-
Copy the Value of the client secret and save it securely for future use.

Configure OAuth in Dataedo Portal
-
Log in to your Dataedo Portal with admin permissions.
-
Go to System settings > Login options.
-
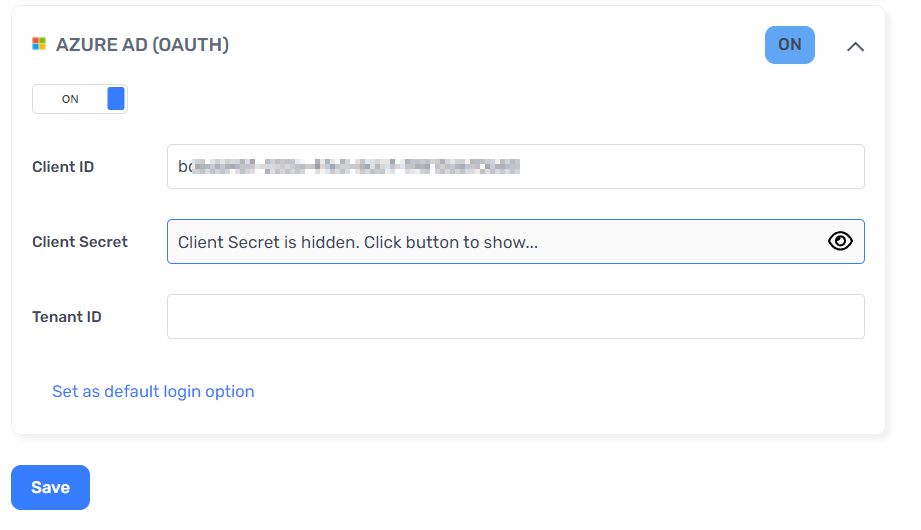
Expand the Azure AD (OAuth 2) section.
-
Paste the following values from Azure Portal:
- Client ID: Application (client) ID
- Client Secret: Value from client secret
- Tenant ID: Directory (tenant) ID (if using a single-tenant setup)
-
Toggle the authentication method to ON and click Save.

Verify Azure AD login
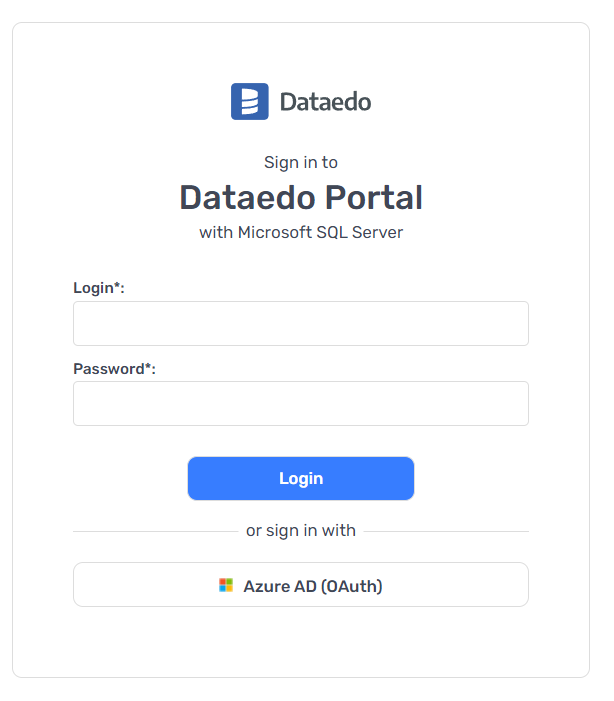
When you open Dataedo Portal, you should see the option to log in with Azure AD.

- Click the Azure AD login option to proceed to the Azure login page.
- If you are already logged in to Azure, you'll be redirected directly to the Dataedo Portal home page.
Need help?
If you run into any problems or have questions, reach out to Dataedo support.

